
Step-by-step Walkthrough
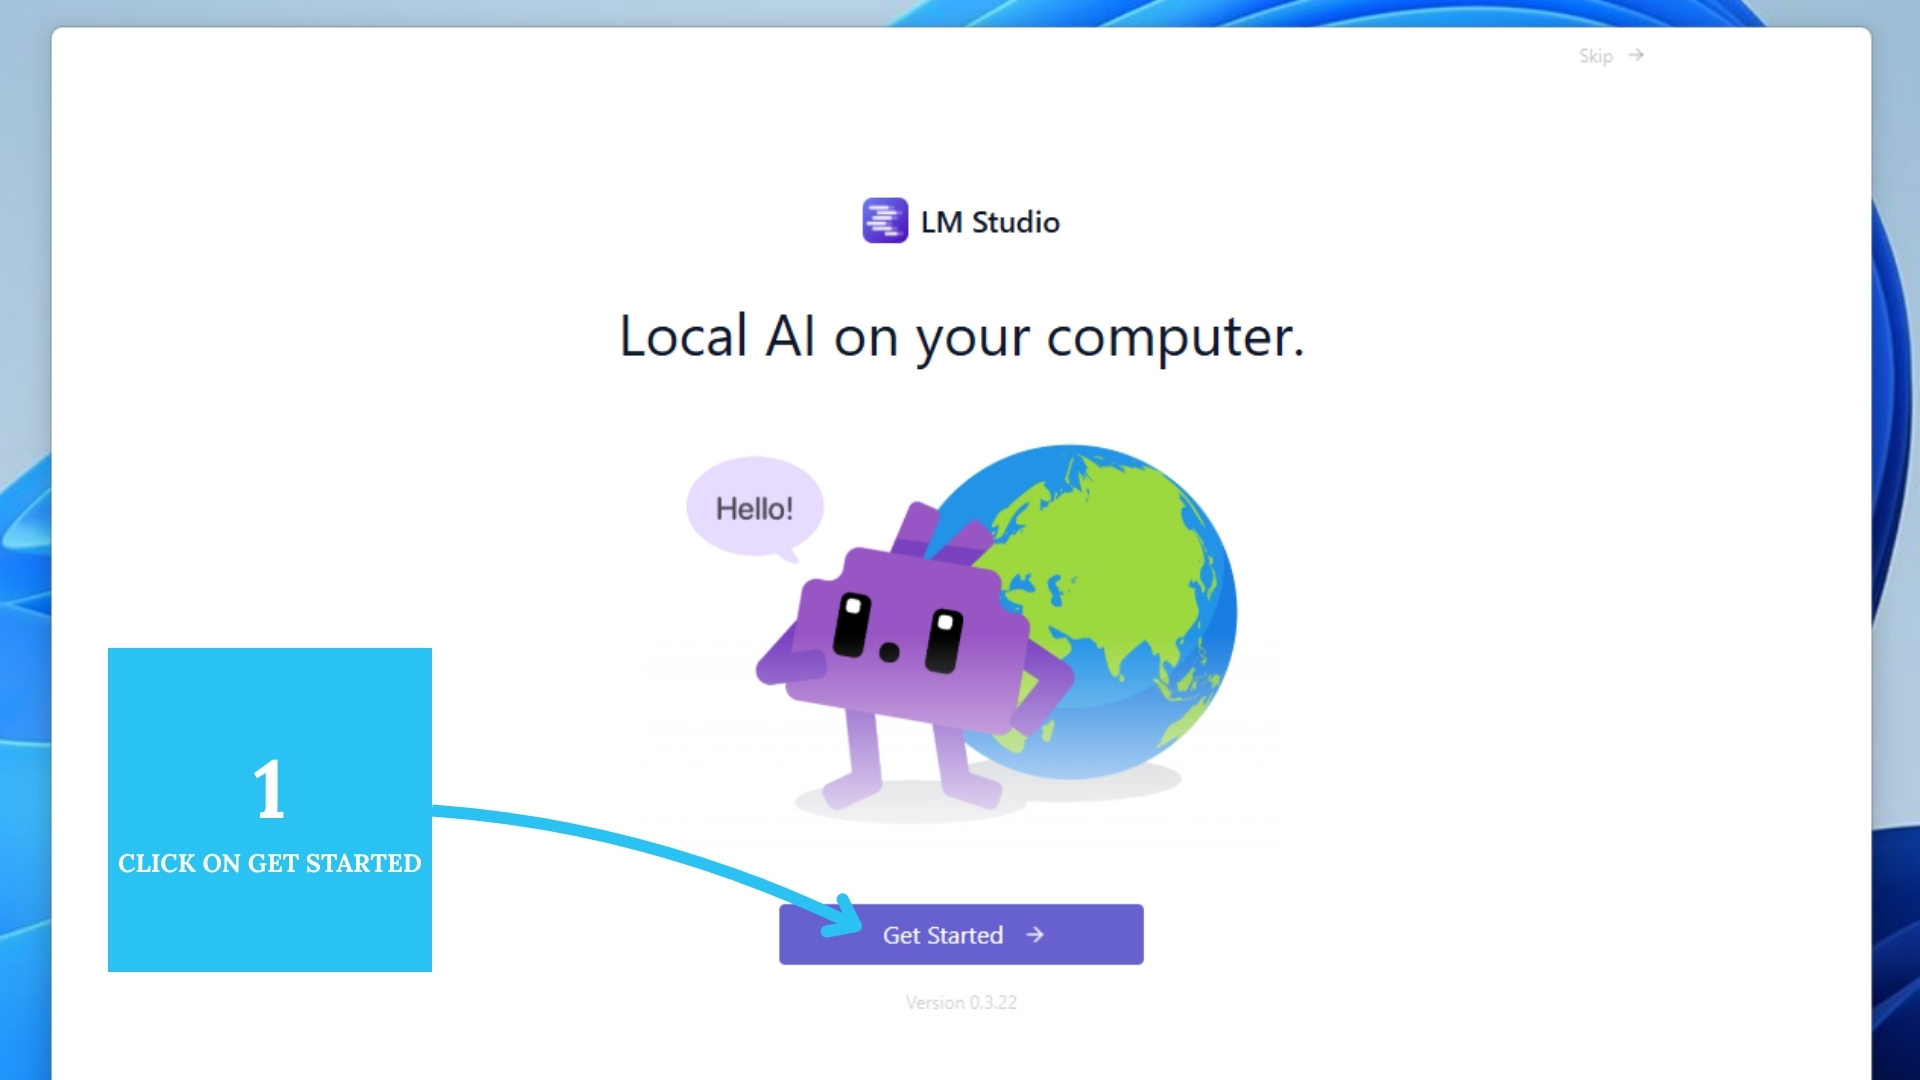
Step 1: Get Started
Download the LM Studio desktop application from https://lmstudio.ai and install it. LM Studio lets you run large language models entirely offline with full local control.
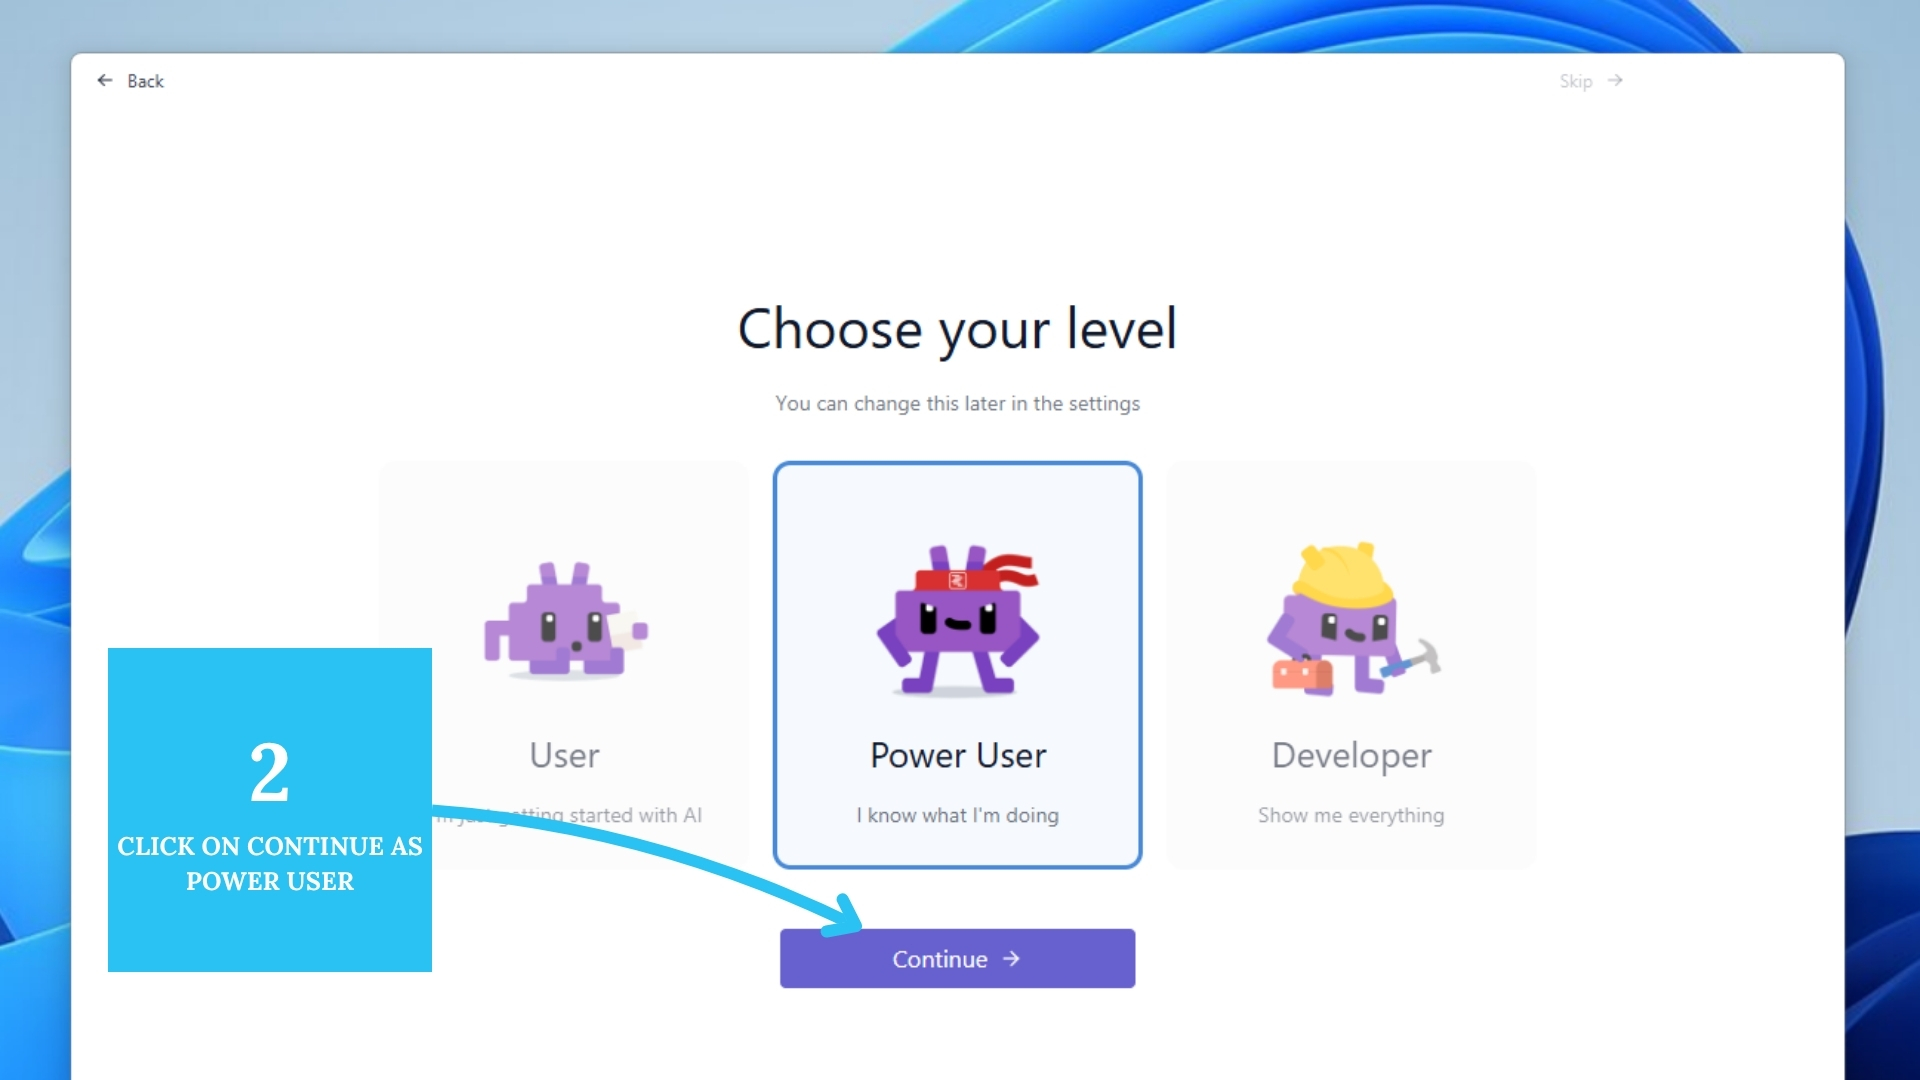
Step 2: Select Power User Level
On first launch, choose Power User to enable advanced configuration tools like mcp.json.
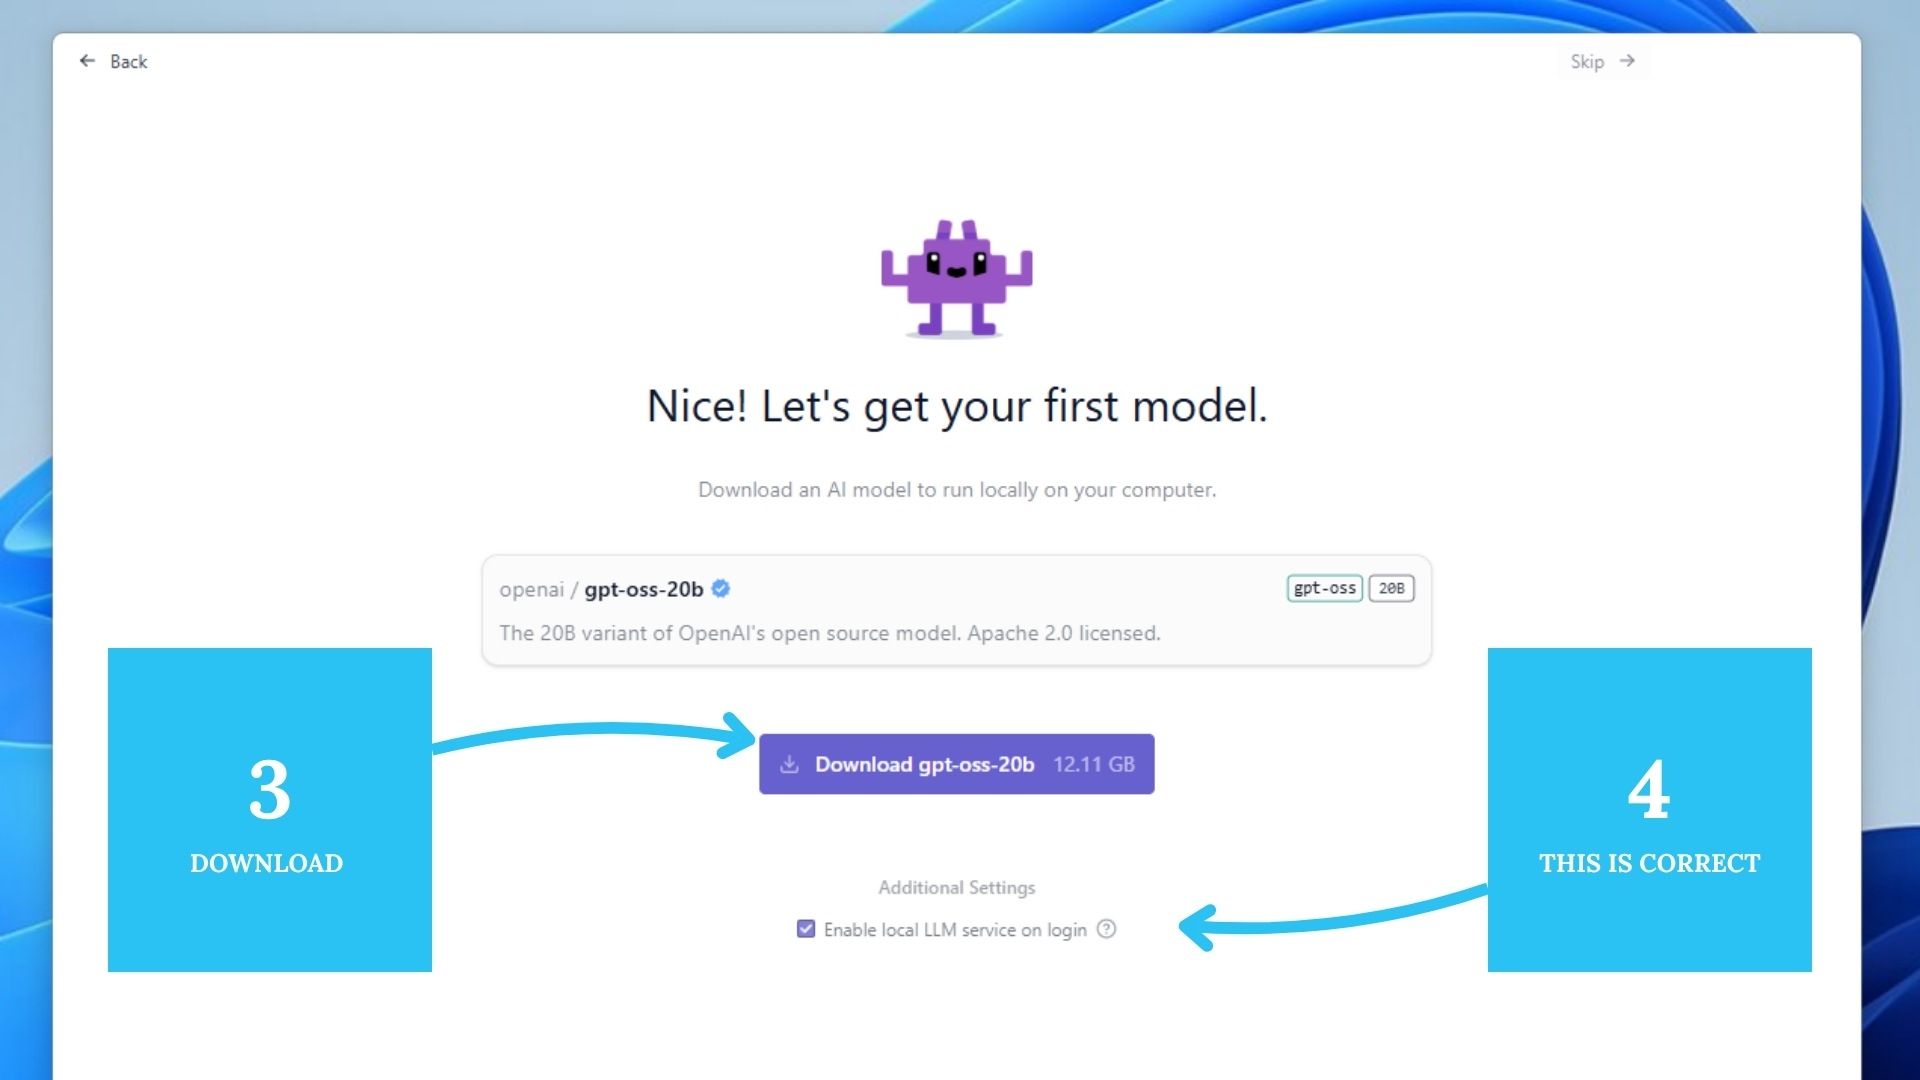
Step 3 & 4: Download the Model
LM Studio will suggest a default open-source model. Download that or skip for now — Feluda will connect to whichever model is active once MCP is enabled.
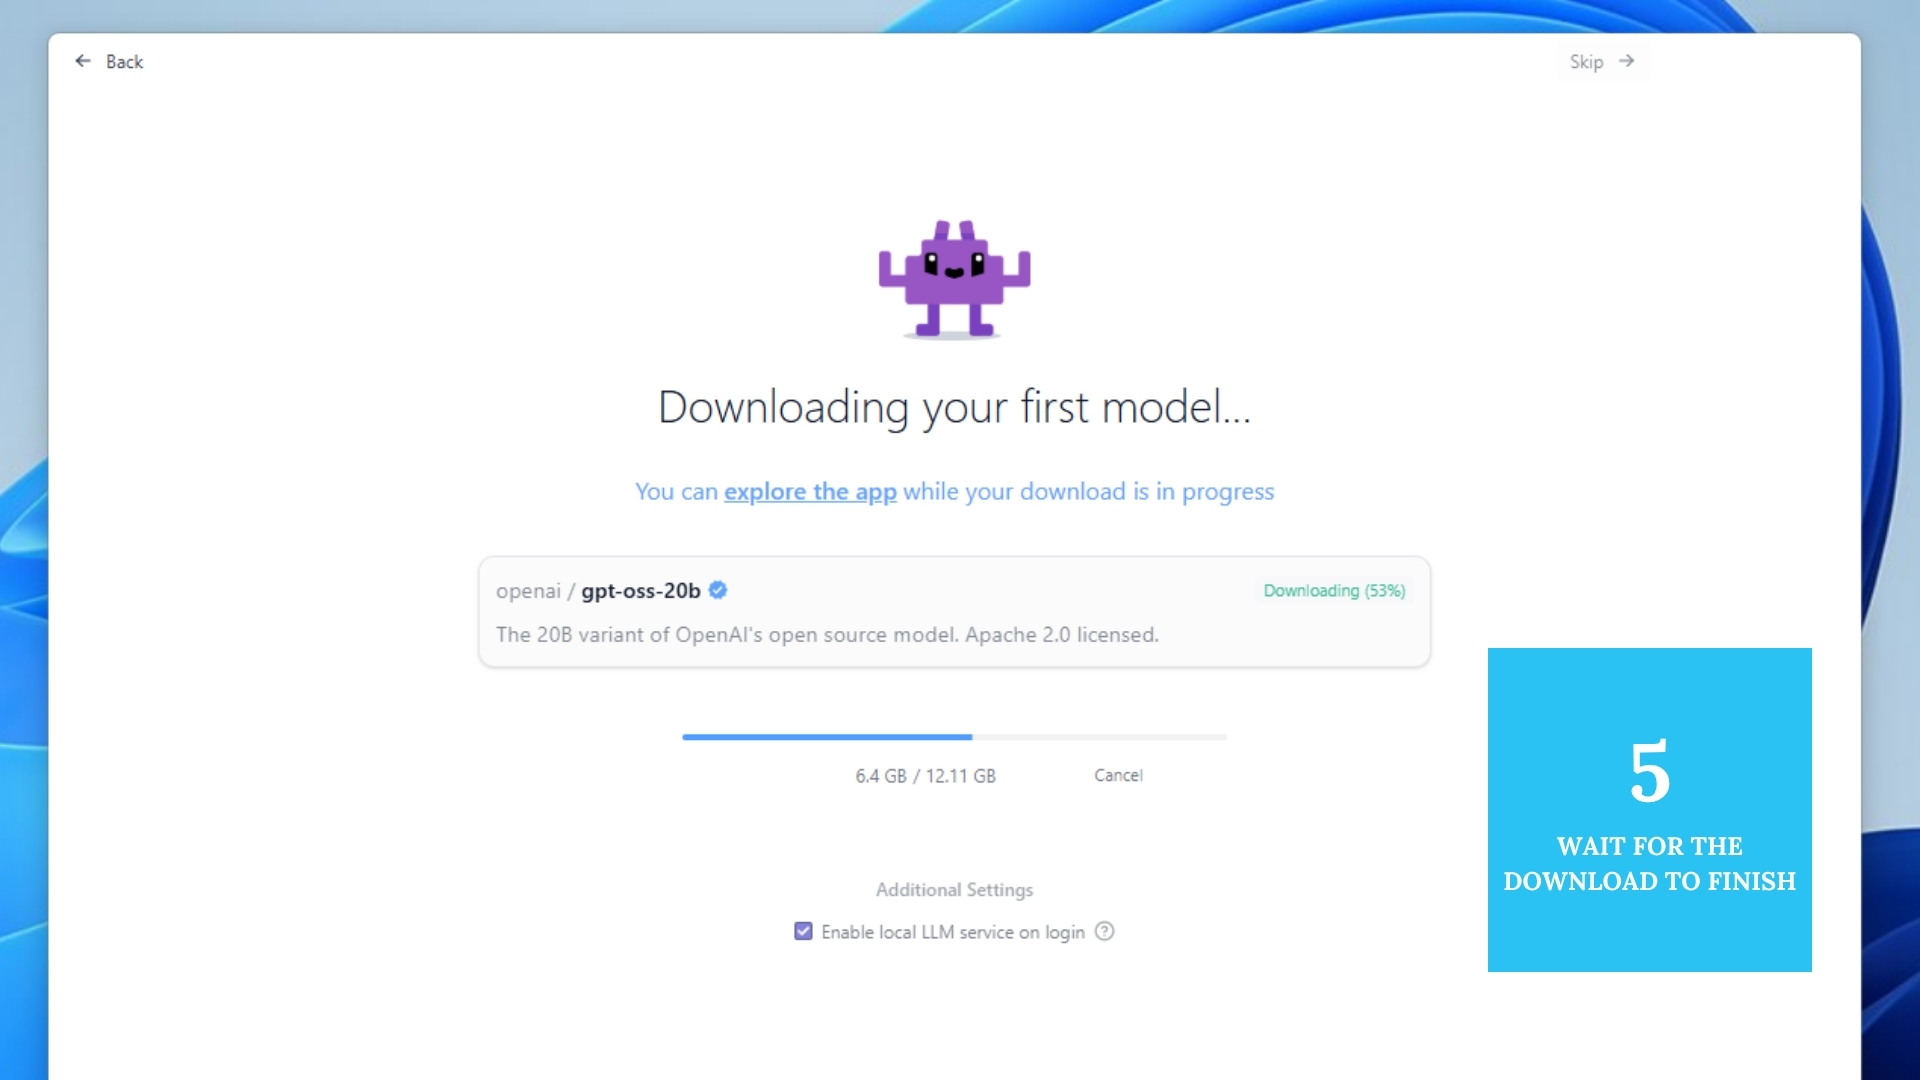
Step 5: Wait for Download to Finish
Depending on model size and bandwidth, this may take a few minutes.
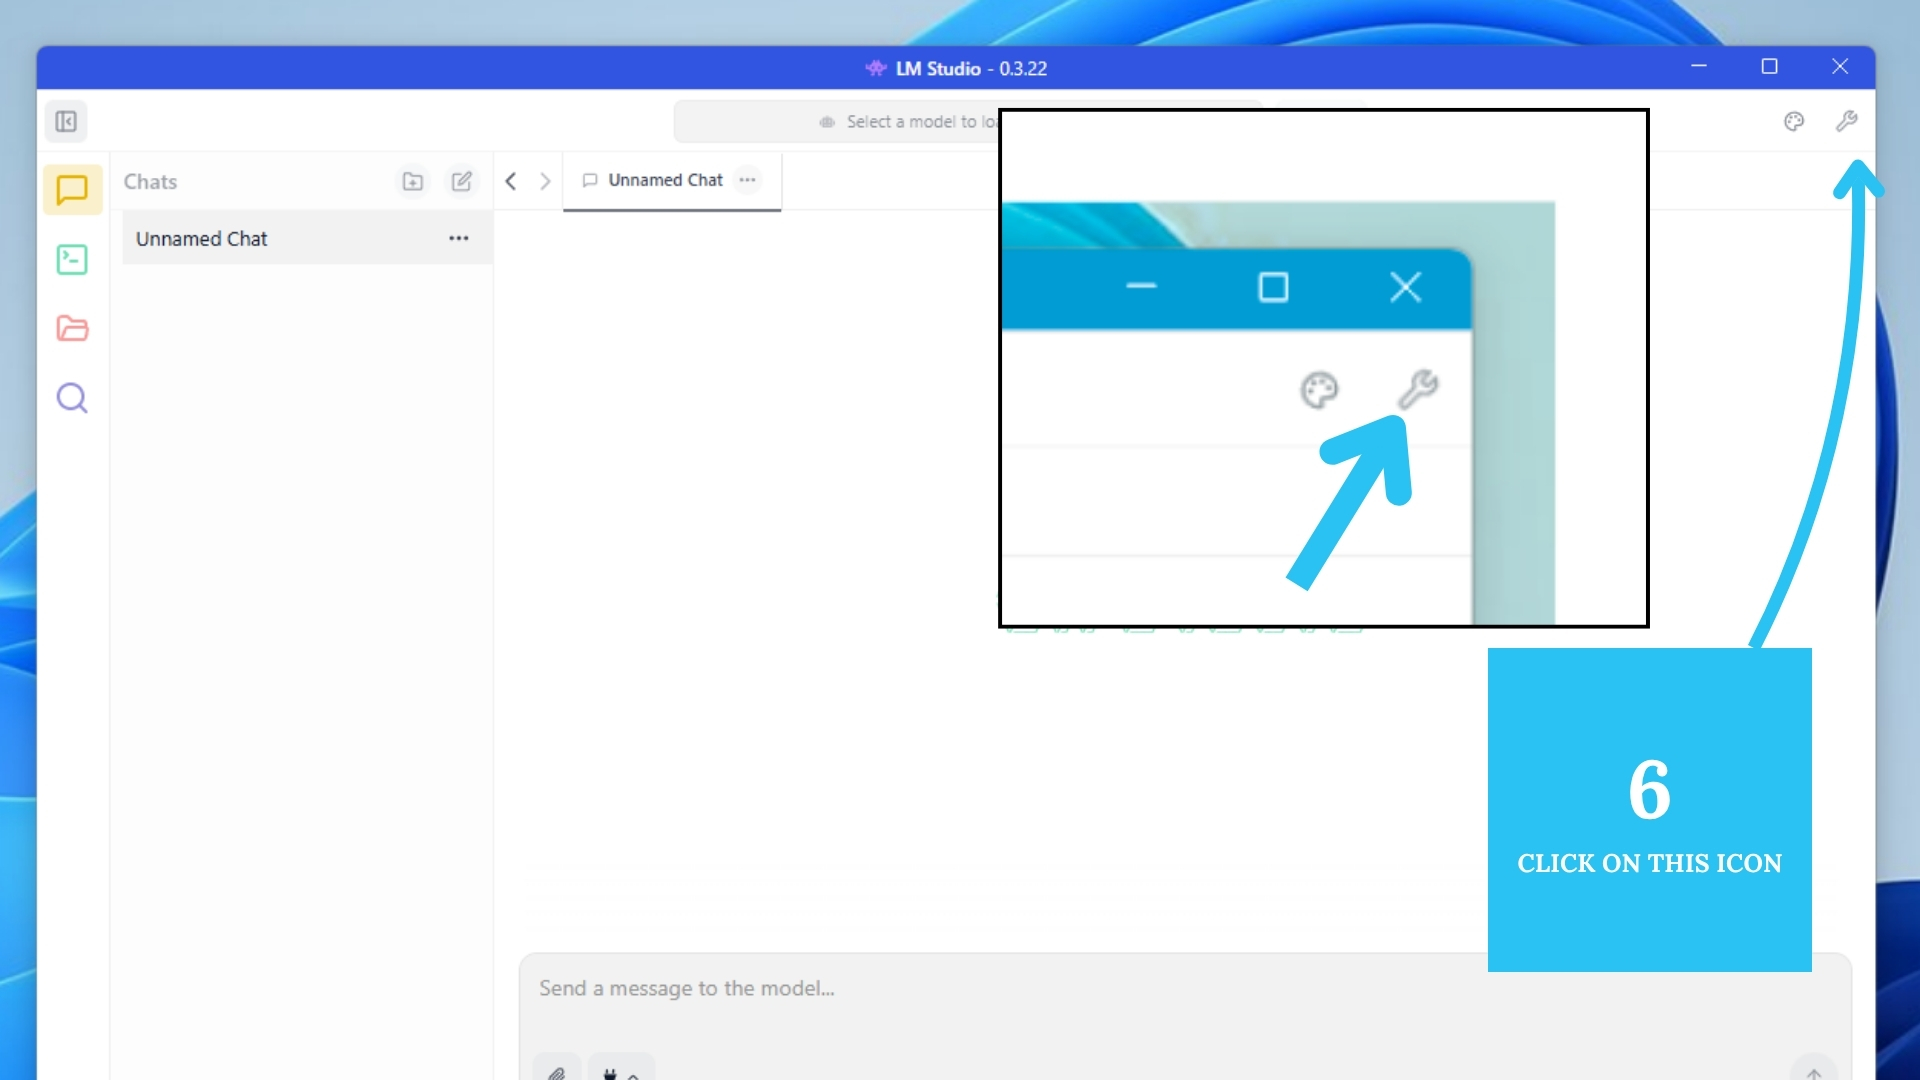
Step 6: Open New Chat and Config Icon
Click Start New Chat, then the configuration (⚙️) icon near the input box/menu.
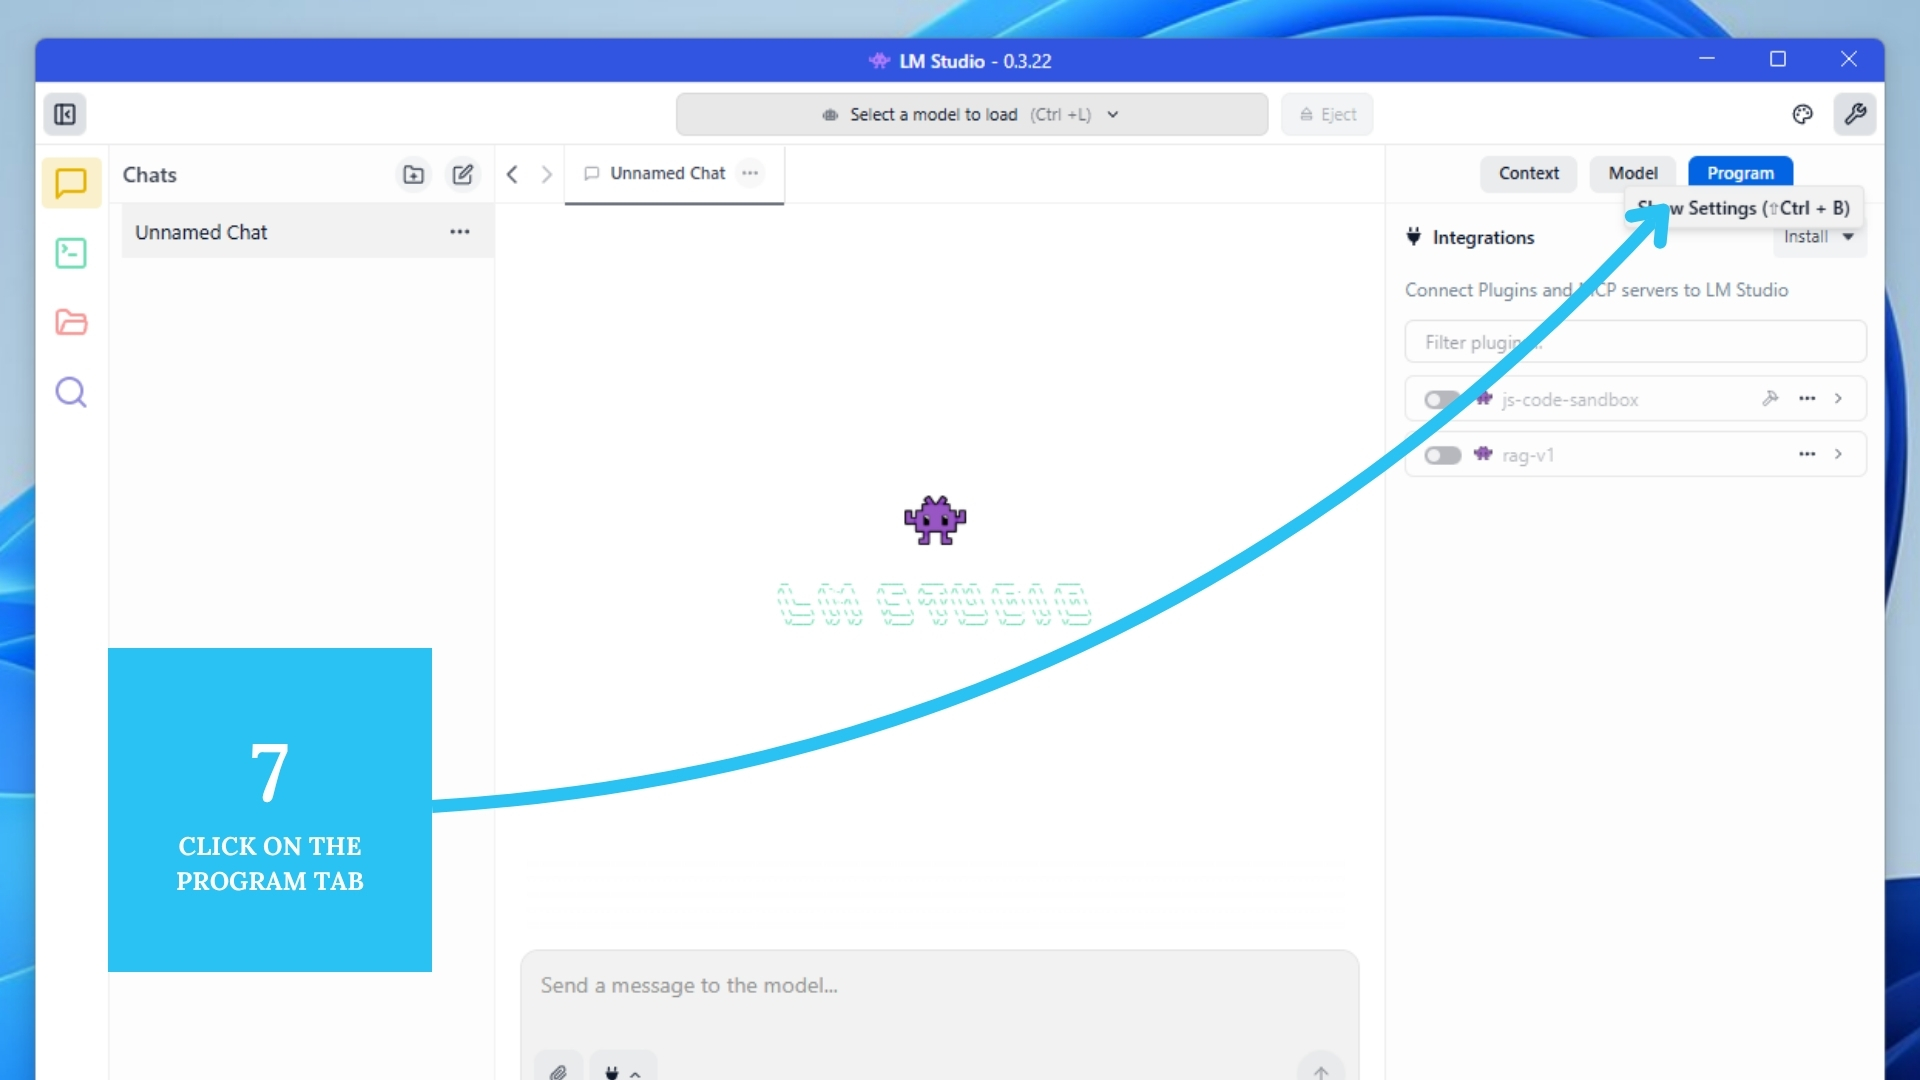
Step 7: Select the Program Tab
Switch to the Program tab — where you enable MCP and Feluda.
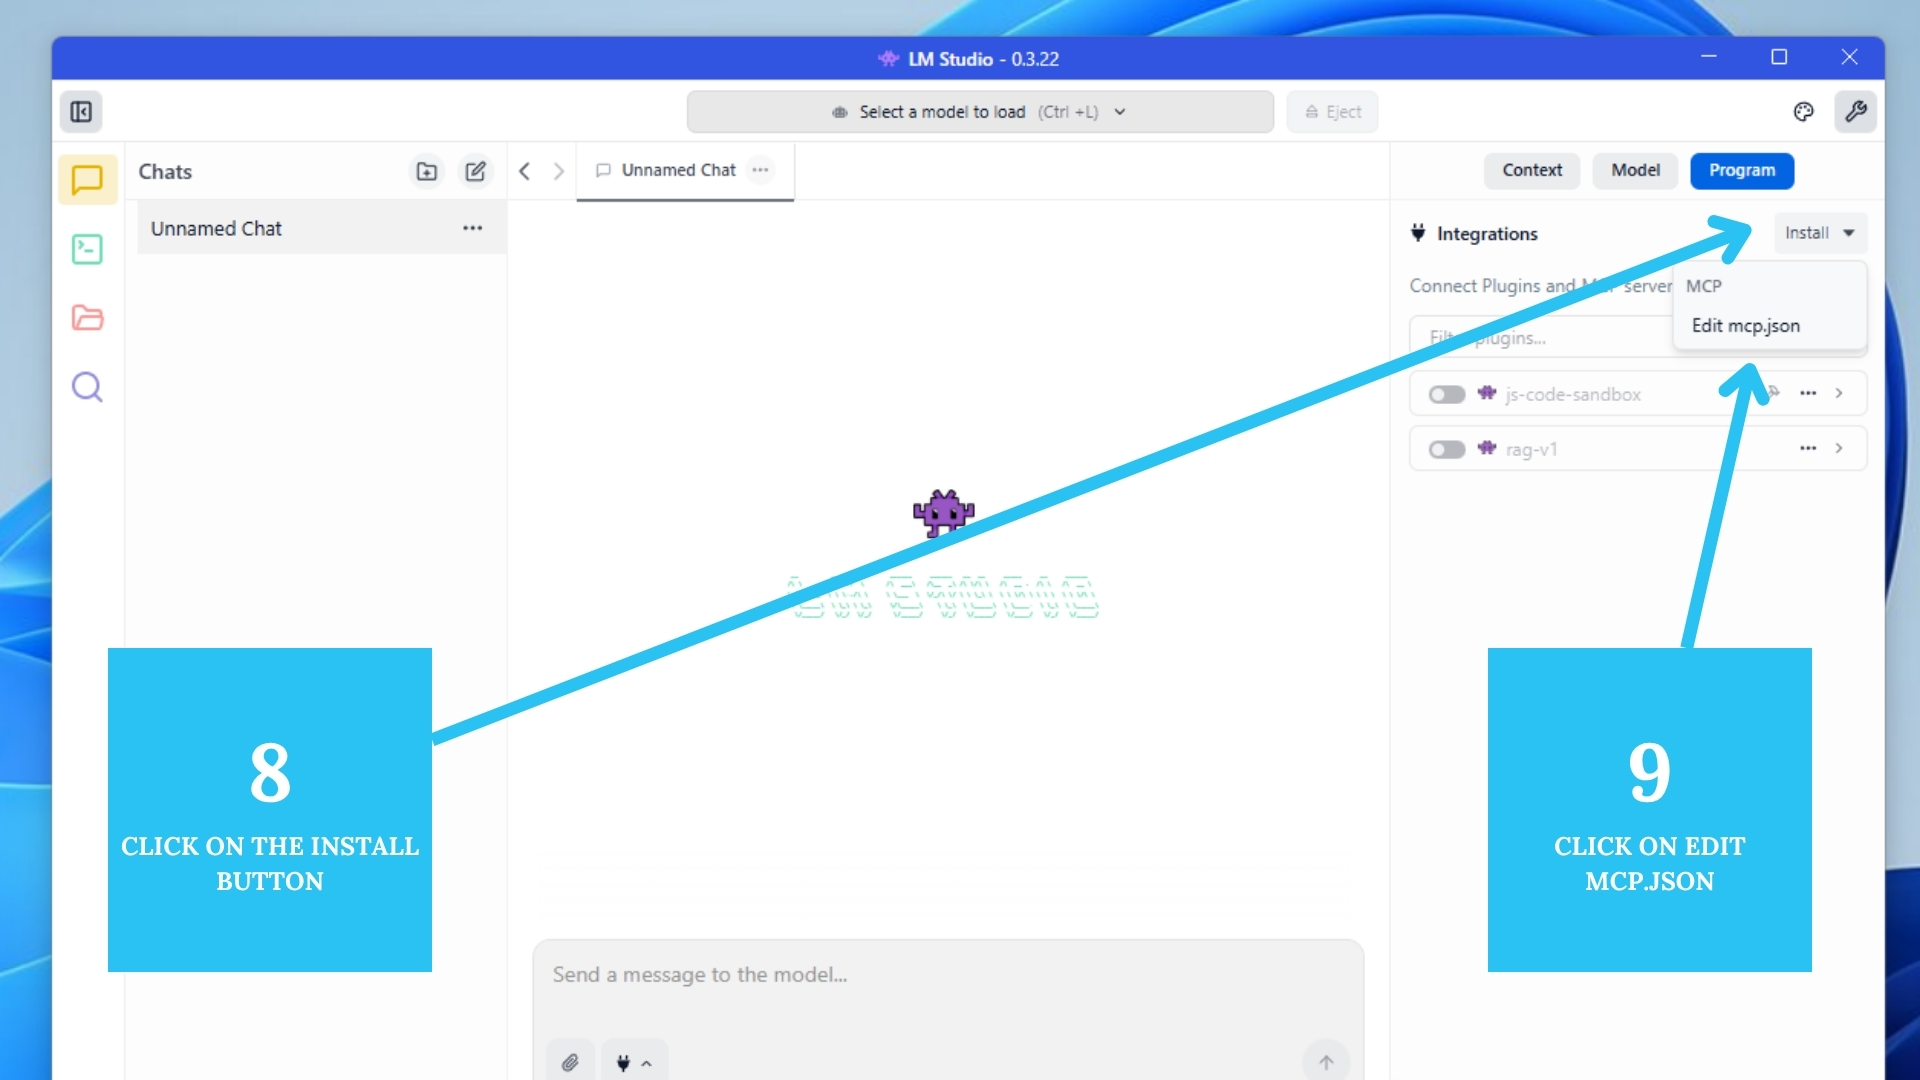
Step 8 & 9: Install & Edit mcp.json
Click Install next to MCP, then Edit to open mcp.json in your editor.
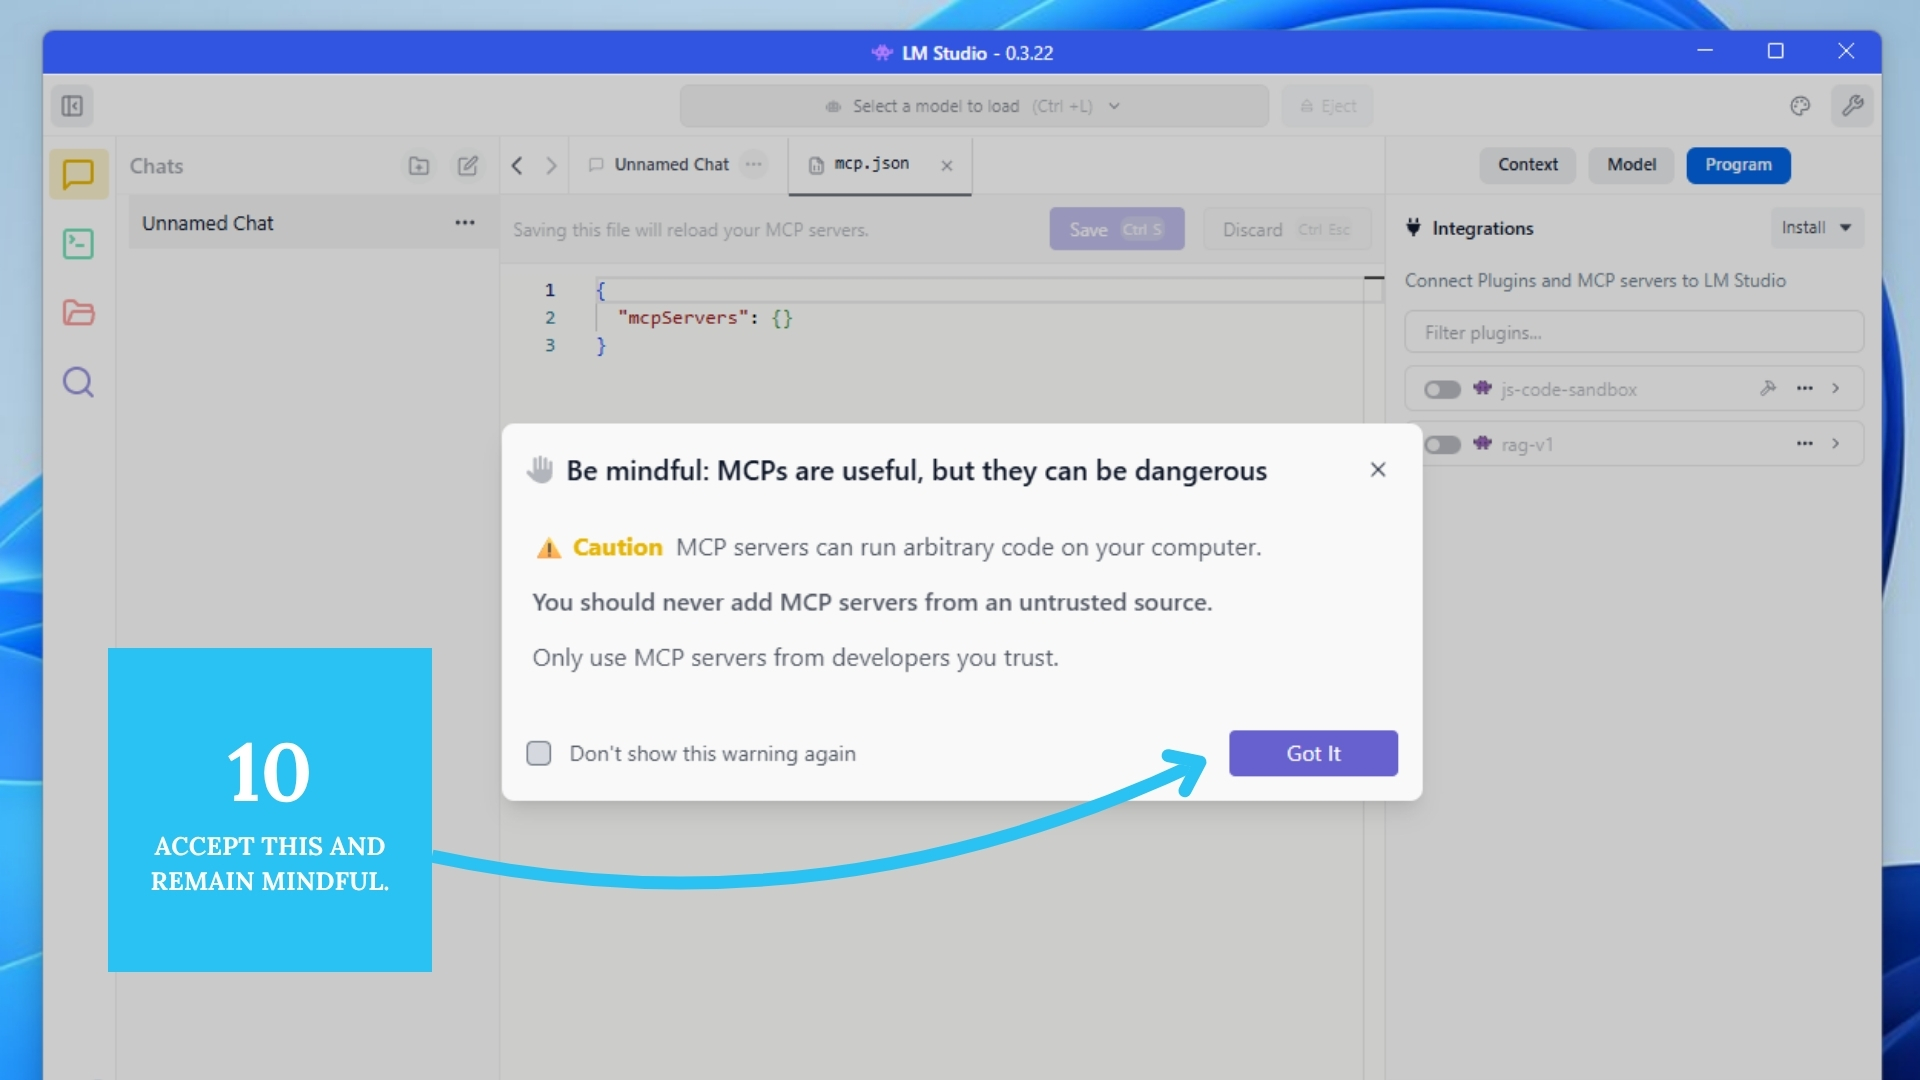
Step 10: Accept the Pop-up Warning
You may see a warning about enabling external programs. Click Continue.
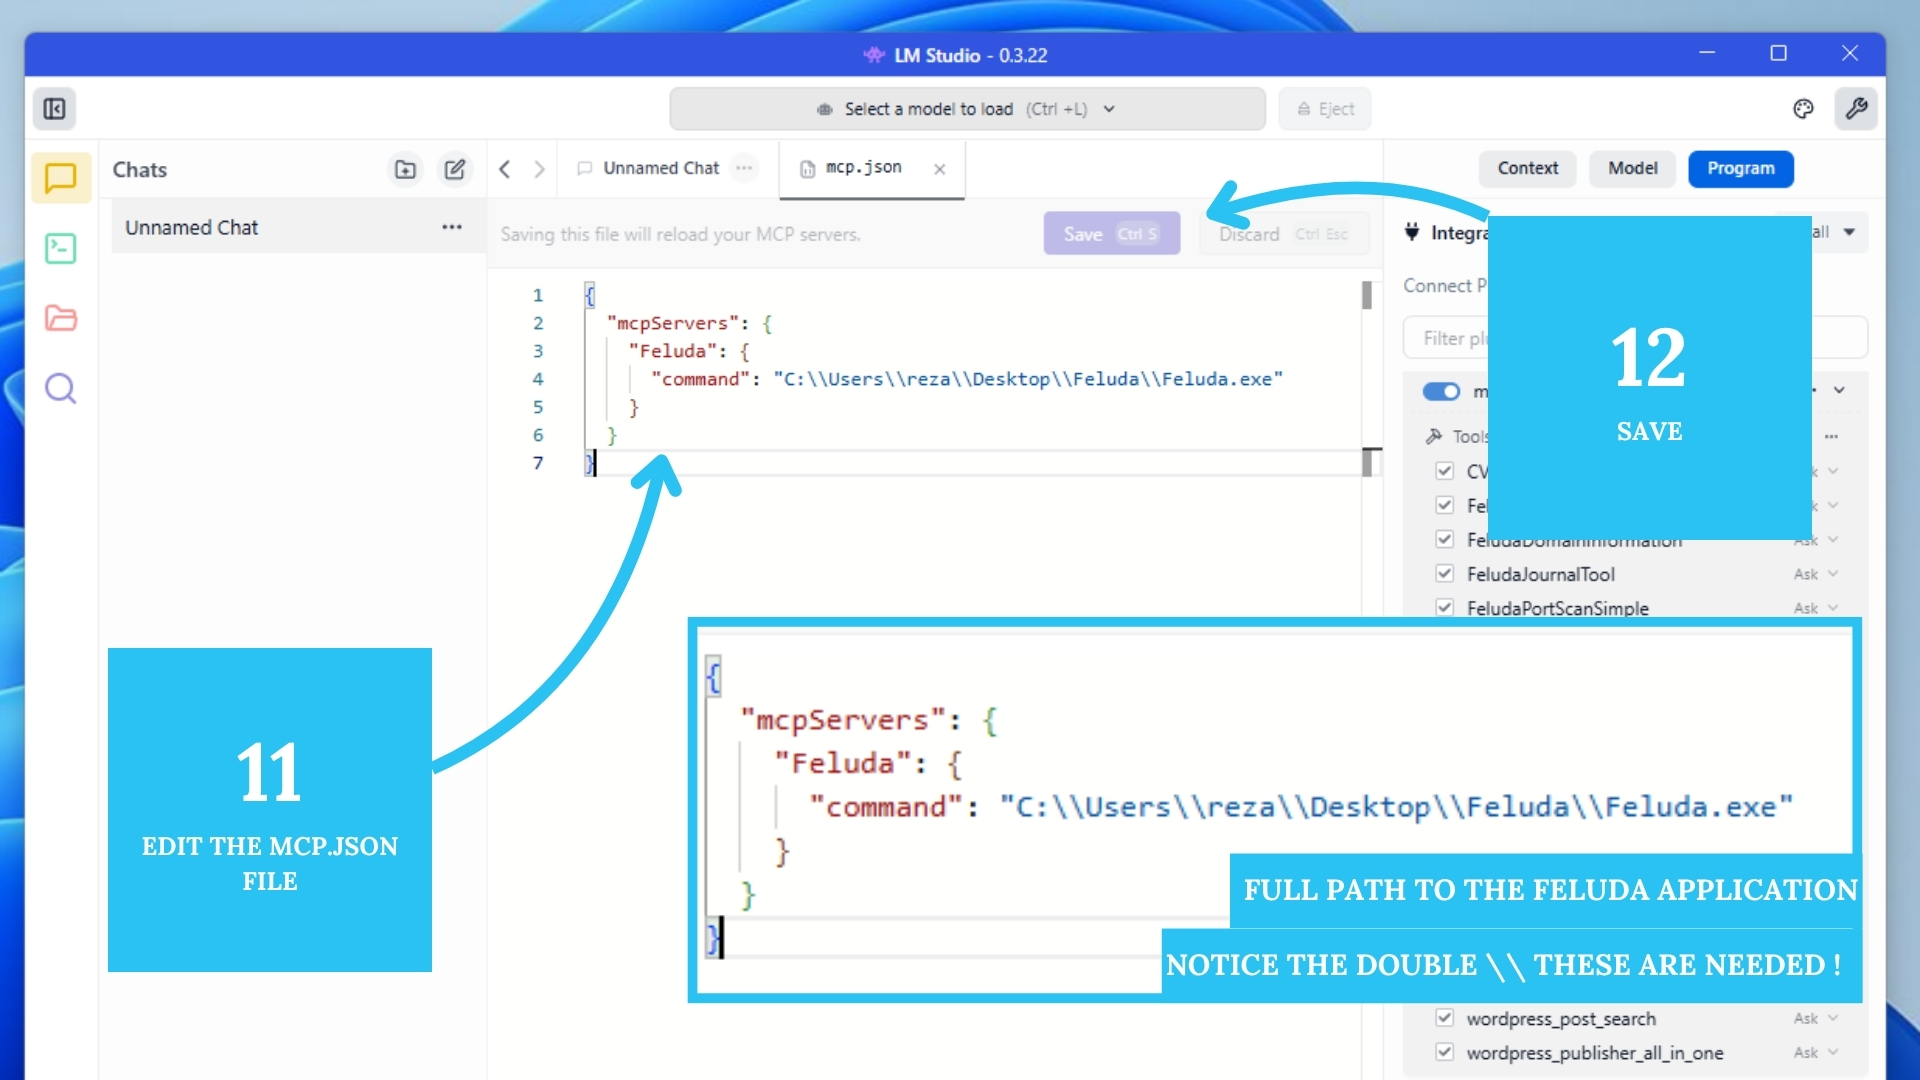
Step 11 & 12: Modify and Save mcp.json
Add a new entry for Feluda pointing to your executable. Windows: use double backslashes
(e.g. C:\\Users\\YourName\\Downloads\\feluda.exe) or forward slashes (C:/Users/YourName/Downloads/feluda.exe)
to avoid JSON parsing errors. Save the file.
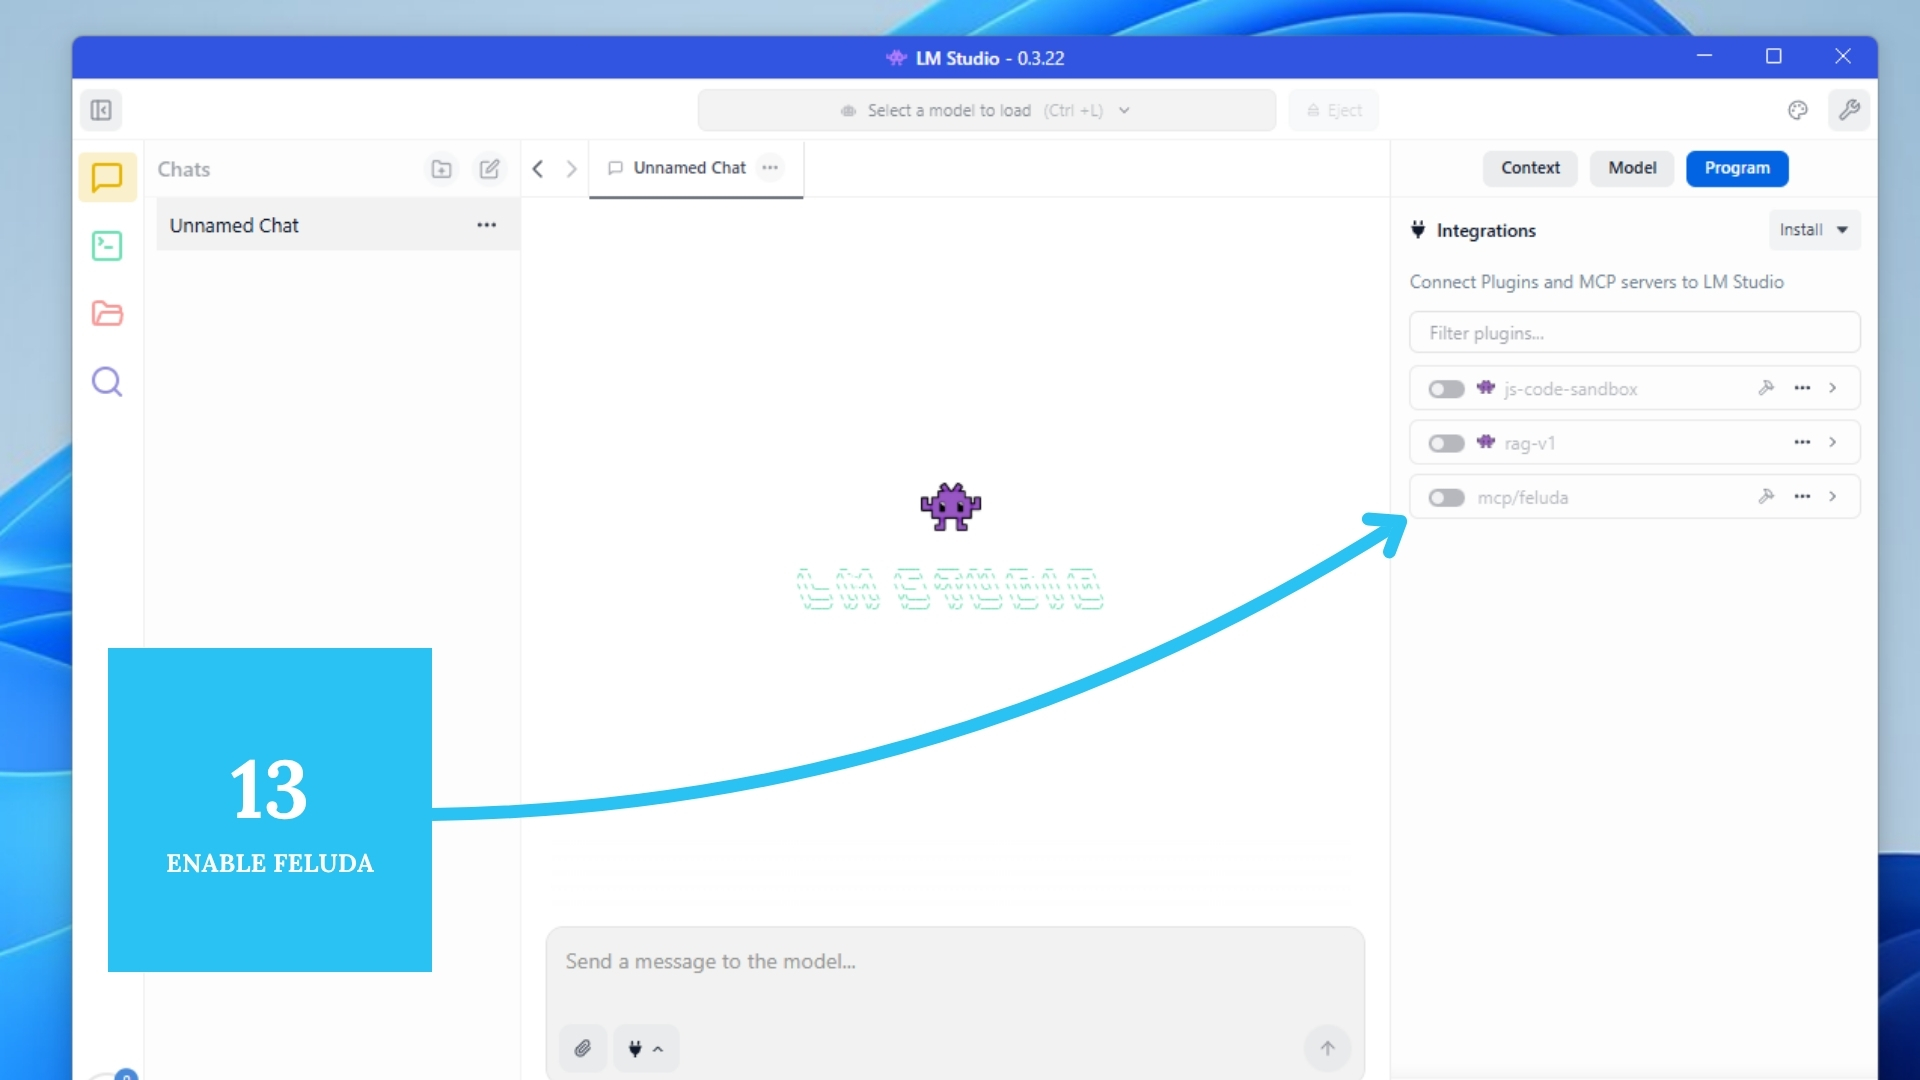
Step 13: Enable Feluda MCP
Back in LM Studio, toggle Feluda ON in the MCP providers list.
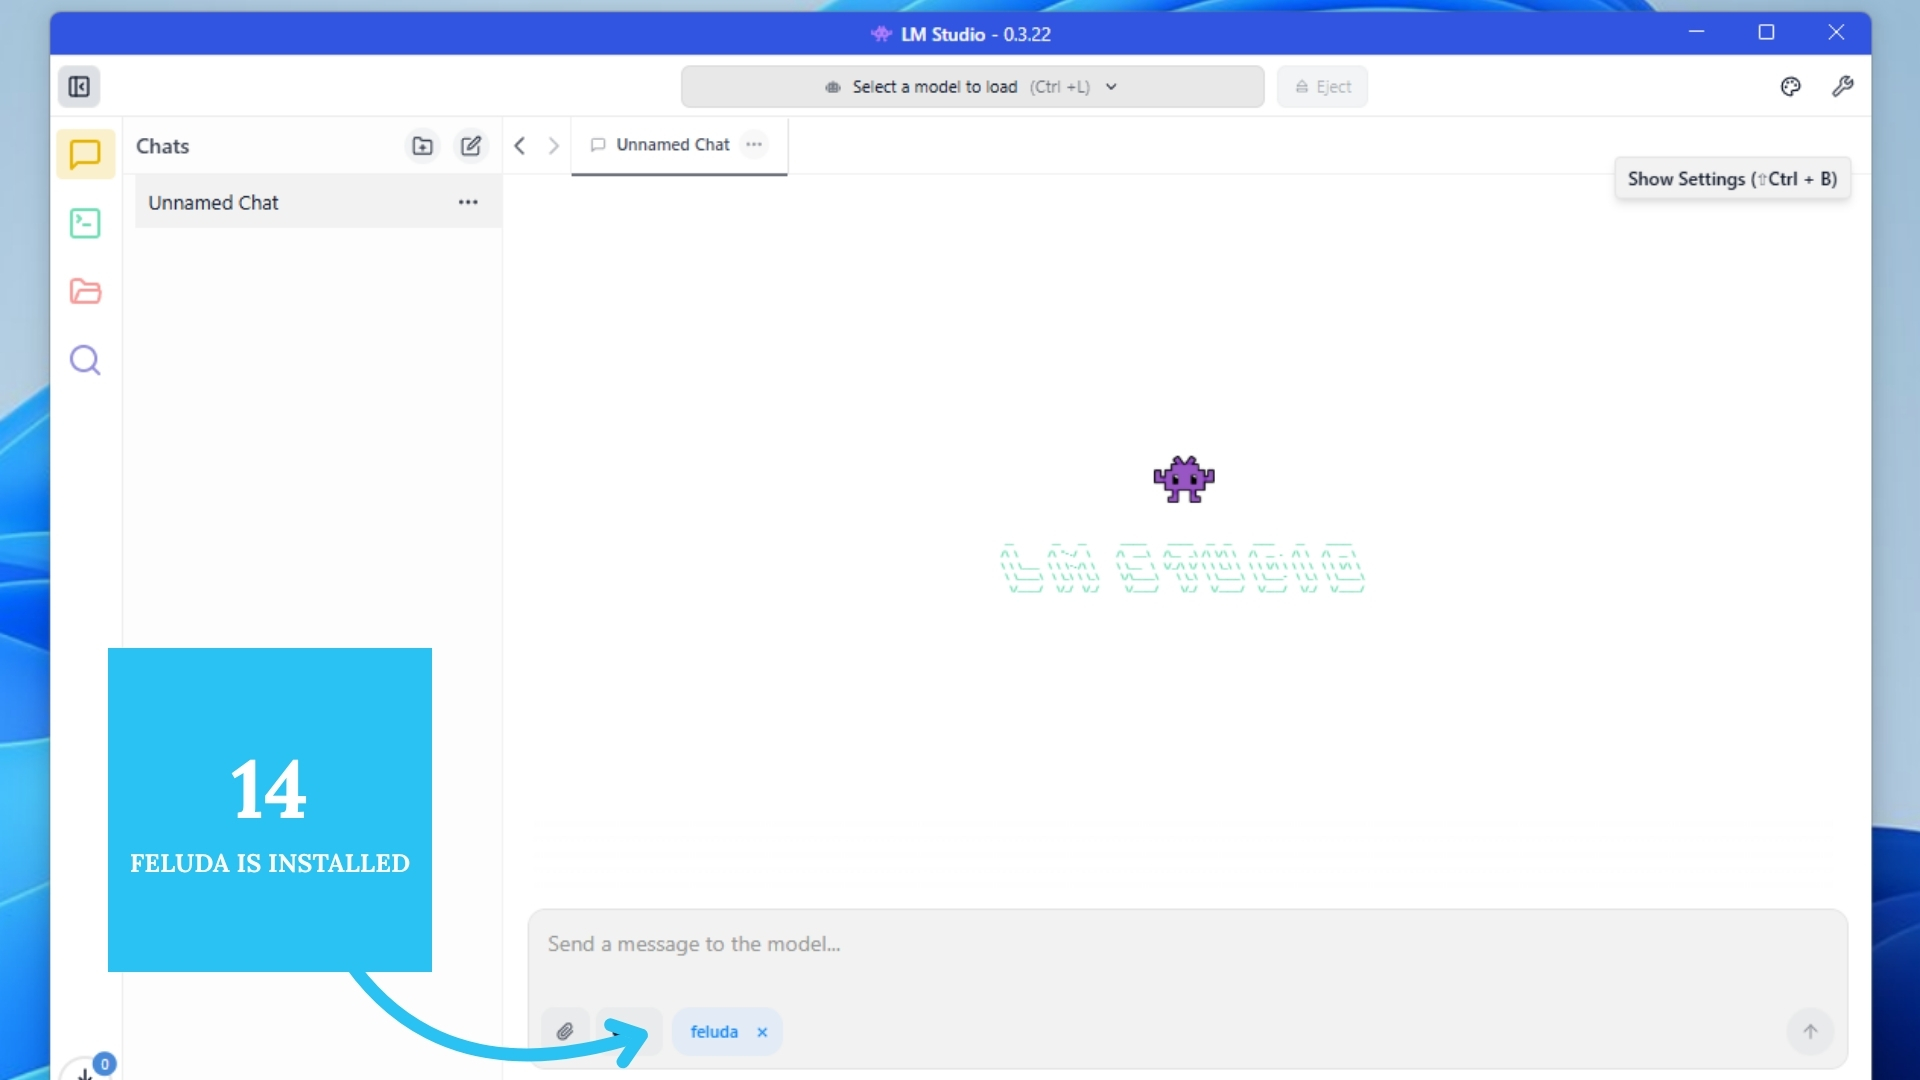
Step 14: Start a New Chat
Start a new chat: Feluda now augments your local model with memory, tools, chaining, and context.
Optional: Vault Configuration
- Double-click the Feluda binary
- Add API keys securely (OpenAI, HuggingFace, etc.)
- Keys auto-load for compatible genes/tools
You're Ready!
LM Studio now works with your Feluda installation. Explore structured and modular local AI workflows today.