What Is a Flow?
A flow is a visual pipeline of connected blocks. Each block does one thing — accept input, call an AI model, transform data, output results — and you connect them to create multi-step AI workflows. Flows are built in Studio using drag-and-drop, and they run in RunFlows.
In this guide you will build the simplest useful flow: Input → LLM → Output. It takes your text, sends it to an AI model for processing, and returns the result.
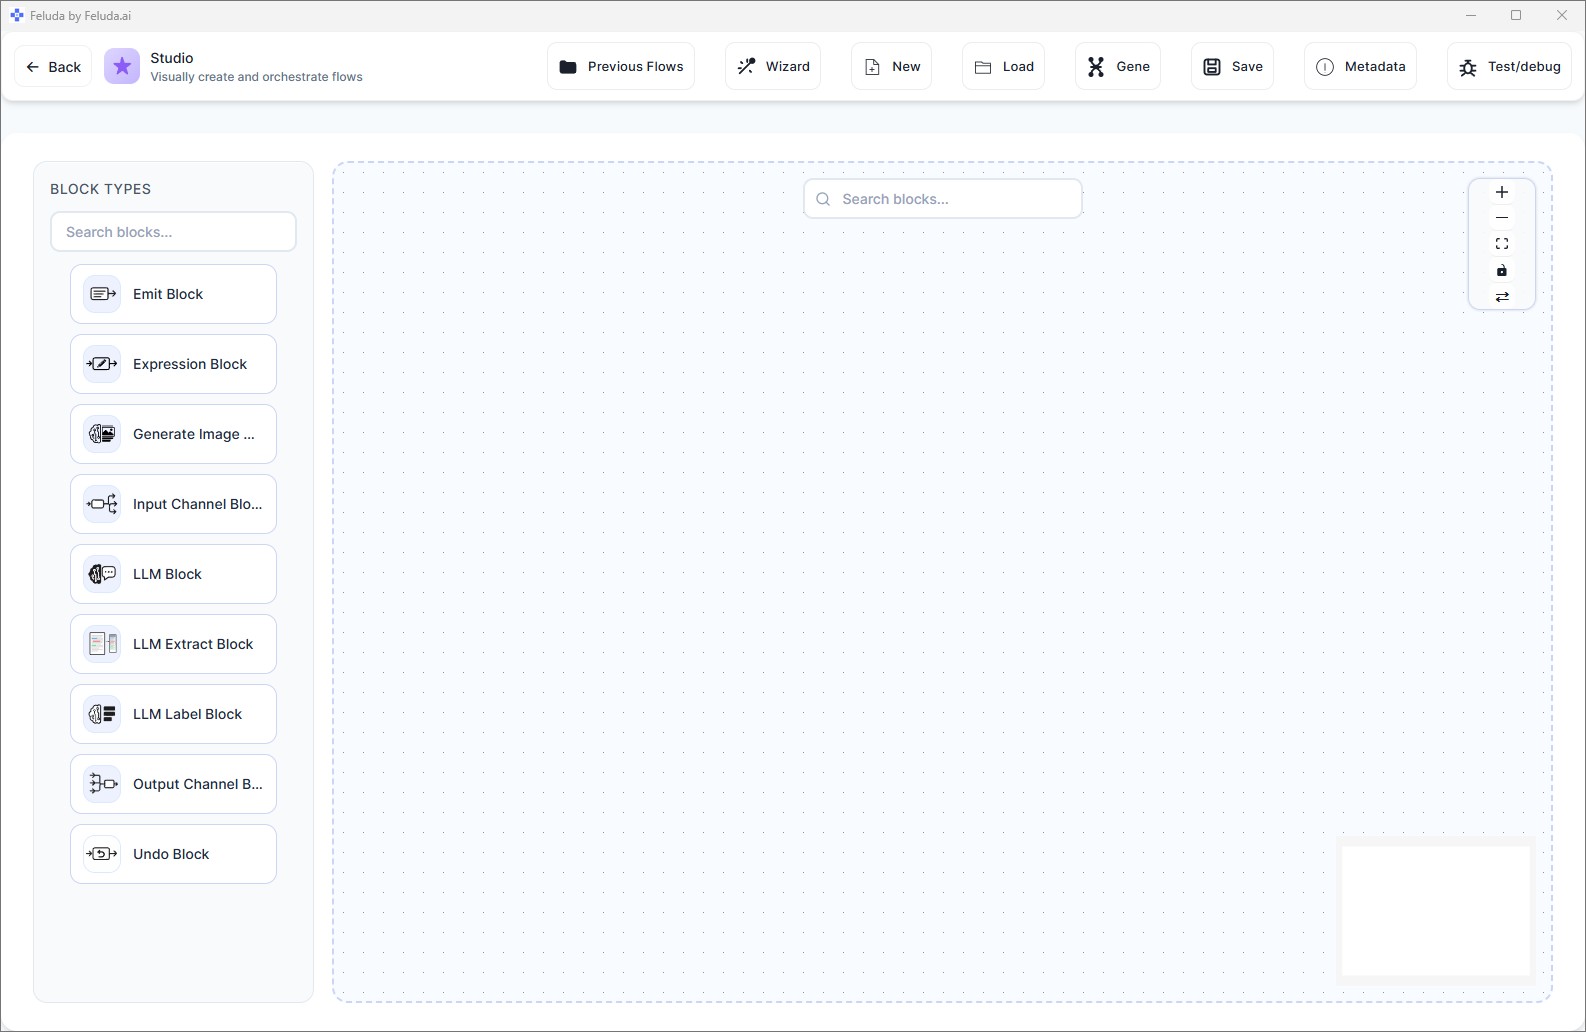
Open Studio
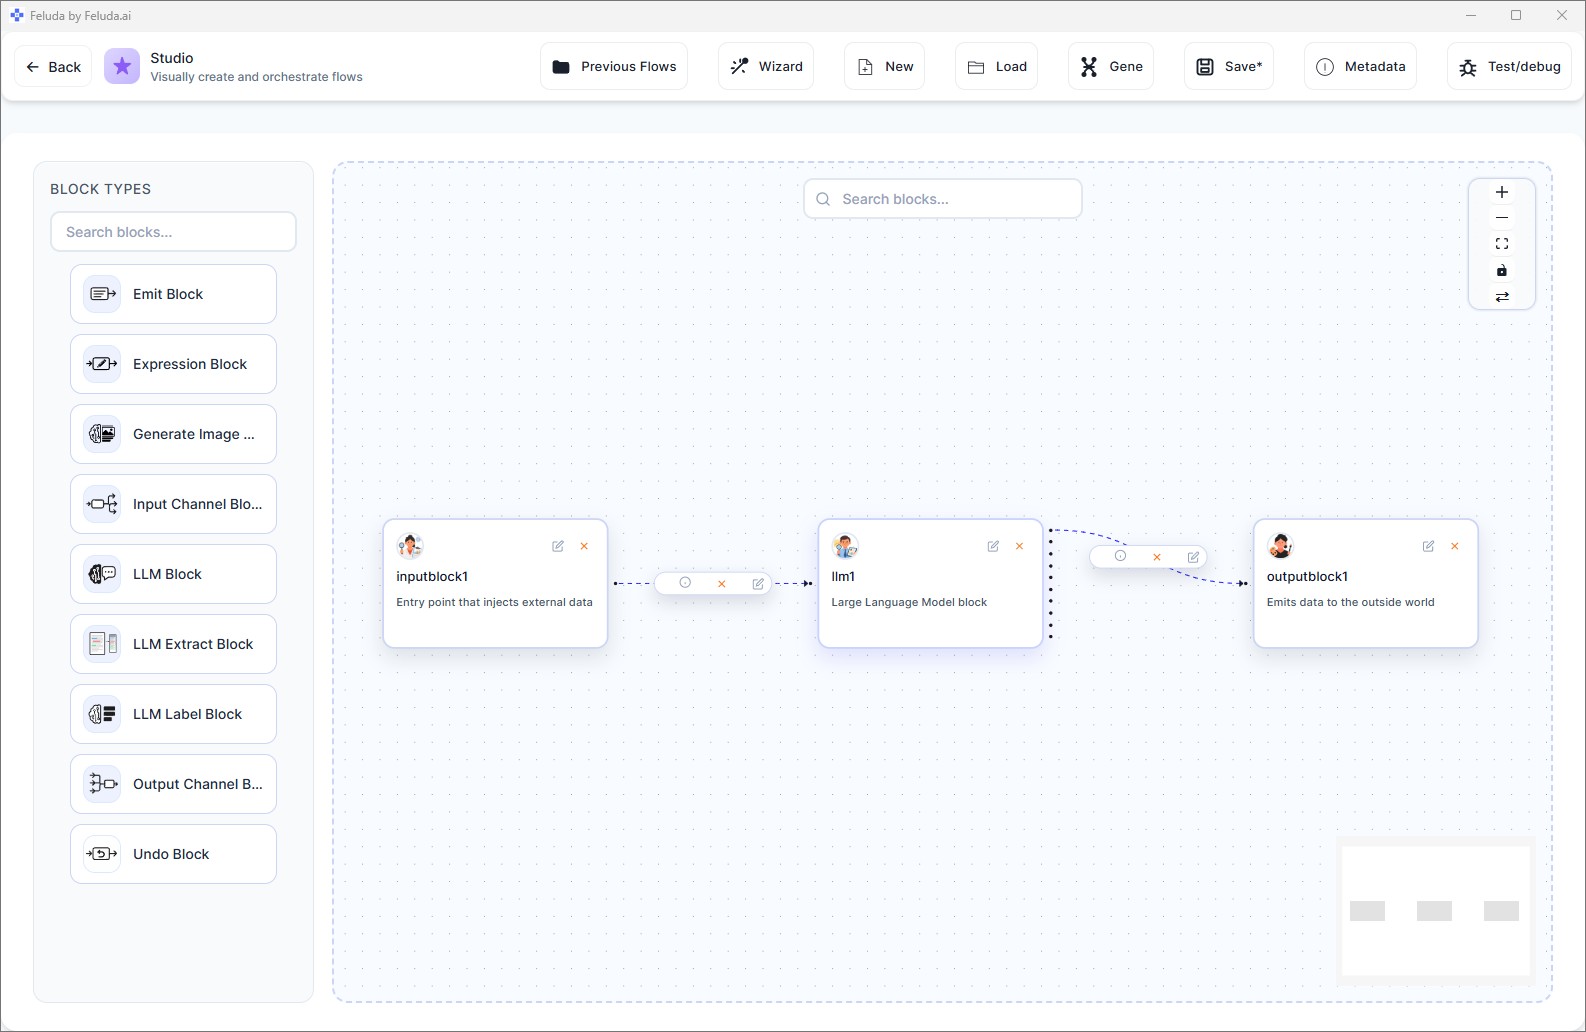
Click Studio in the sidebar. You land on a clean canvas with a block palette on the left and the header toolbar at the top.
Build the Minimal Working Flow
Follow these five steps to create a complete, working AI flow:
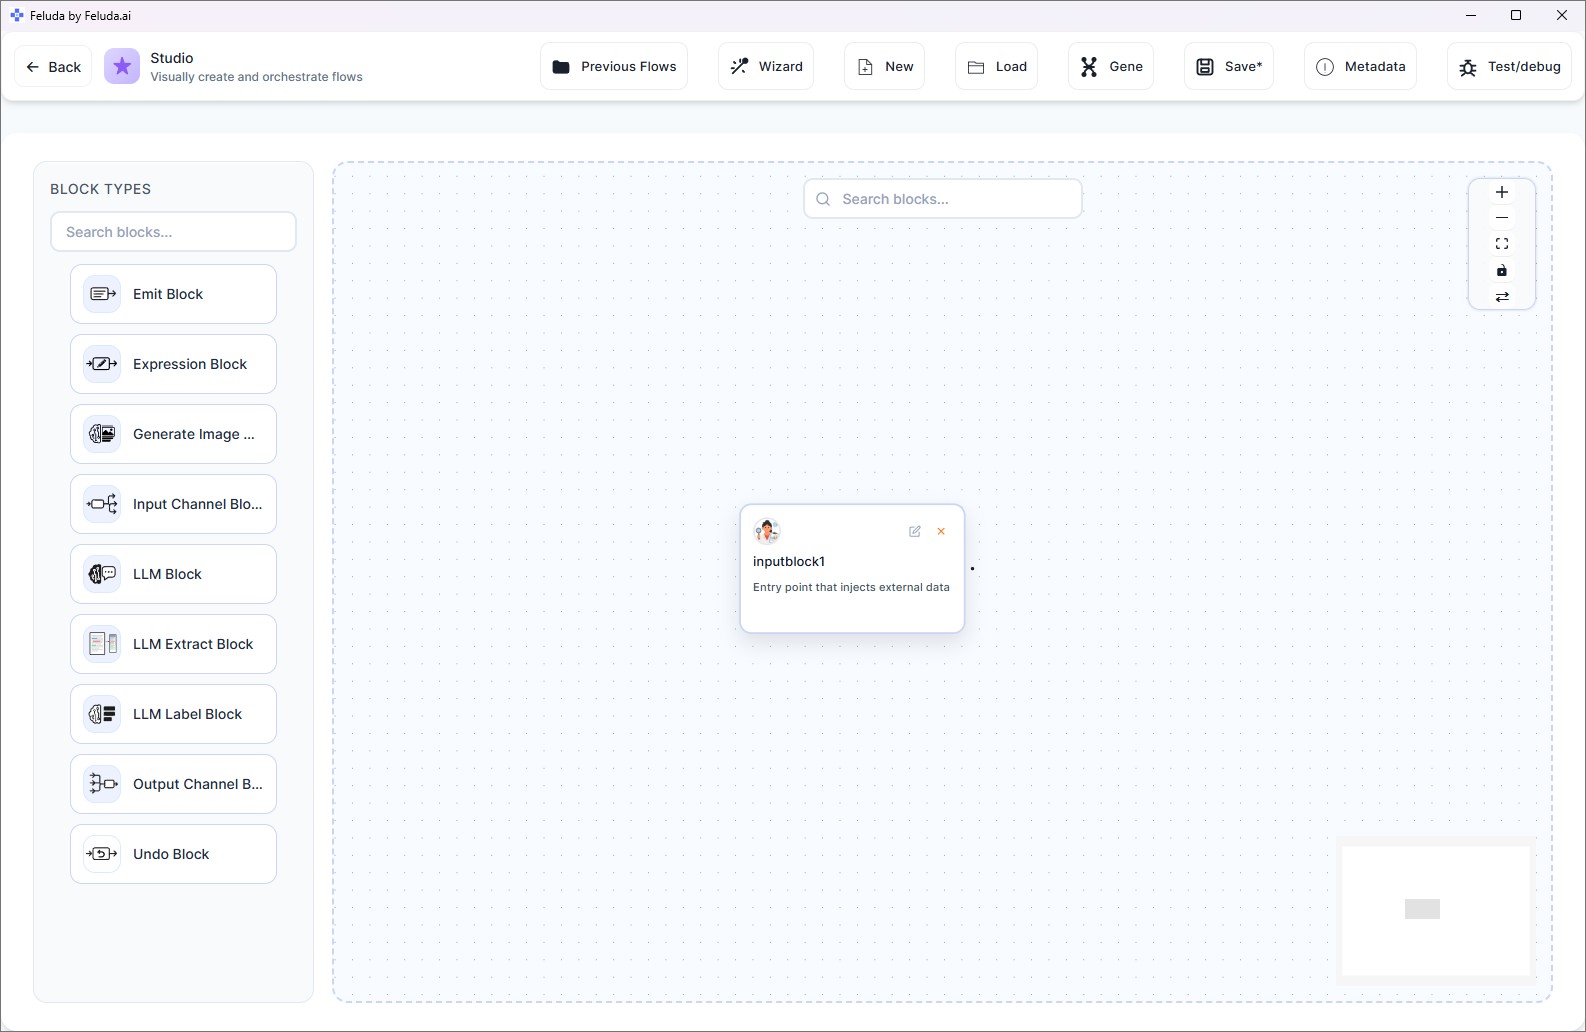
Add an Input block
From the block palette, click Input. A blue Input block appears on the canvas — this is where data enters your flow.
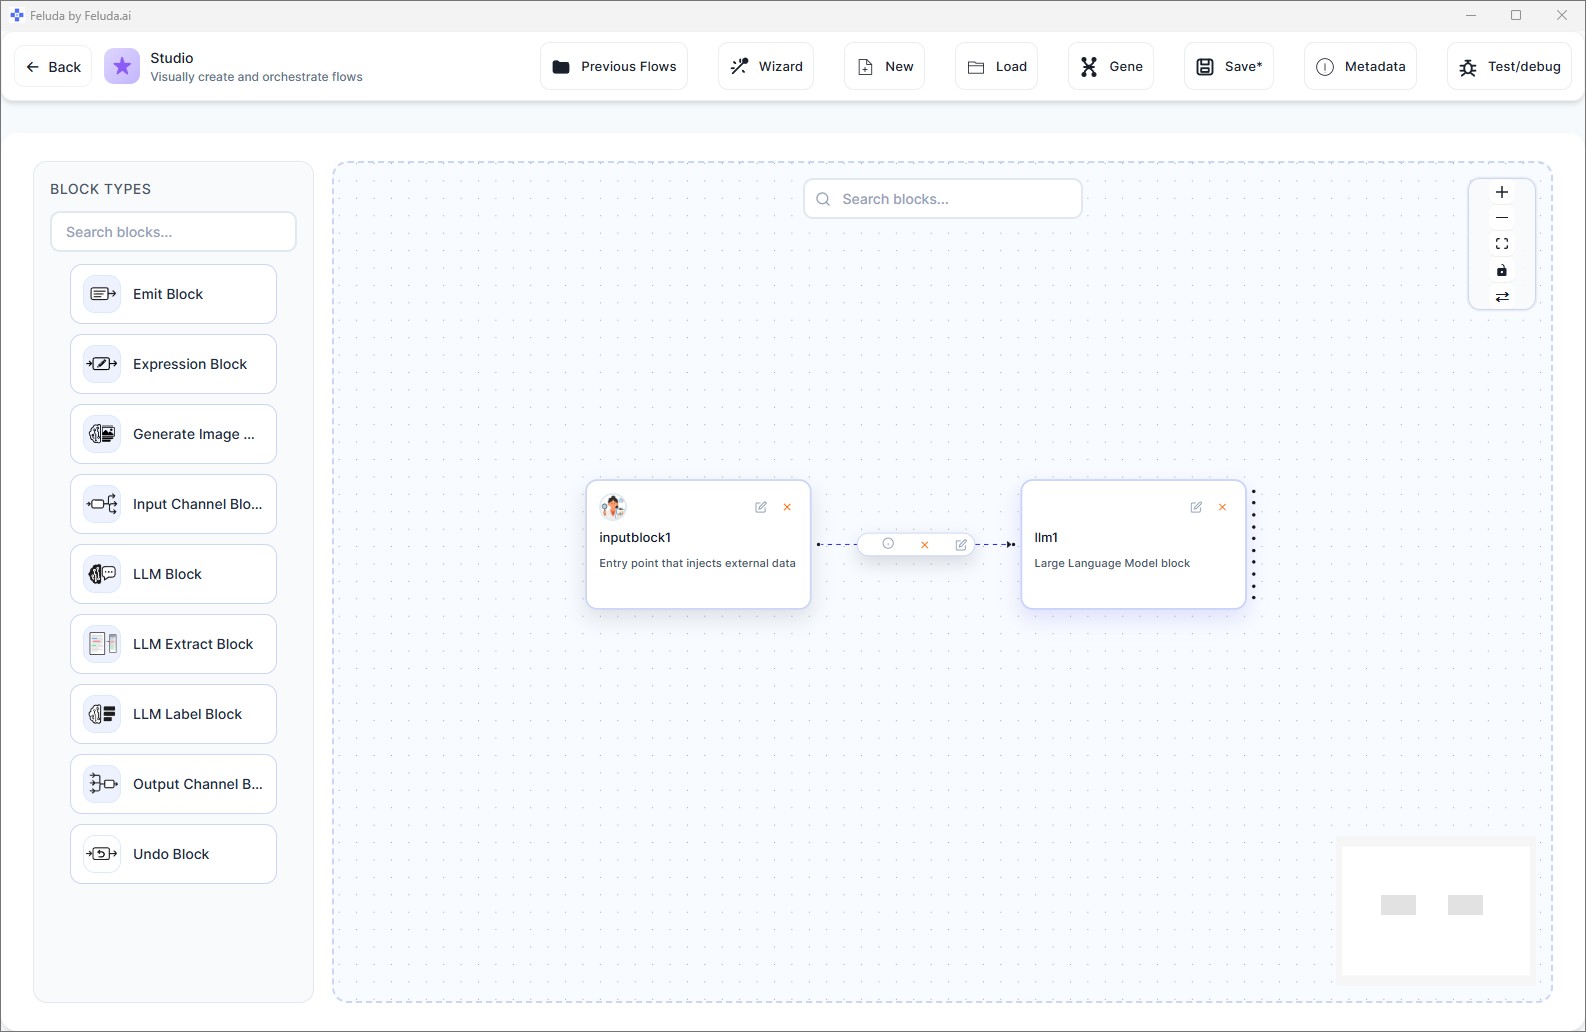
Add an LLM block
Click LLM from the palette. A green LLM block appears. Drag a connection from the Input block's output handle to the LLM block's input handle.
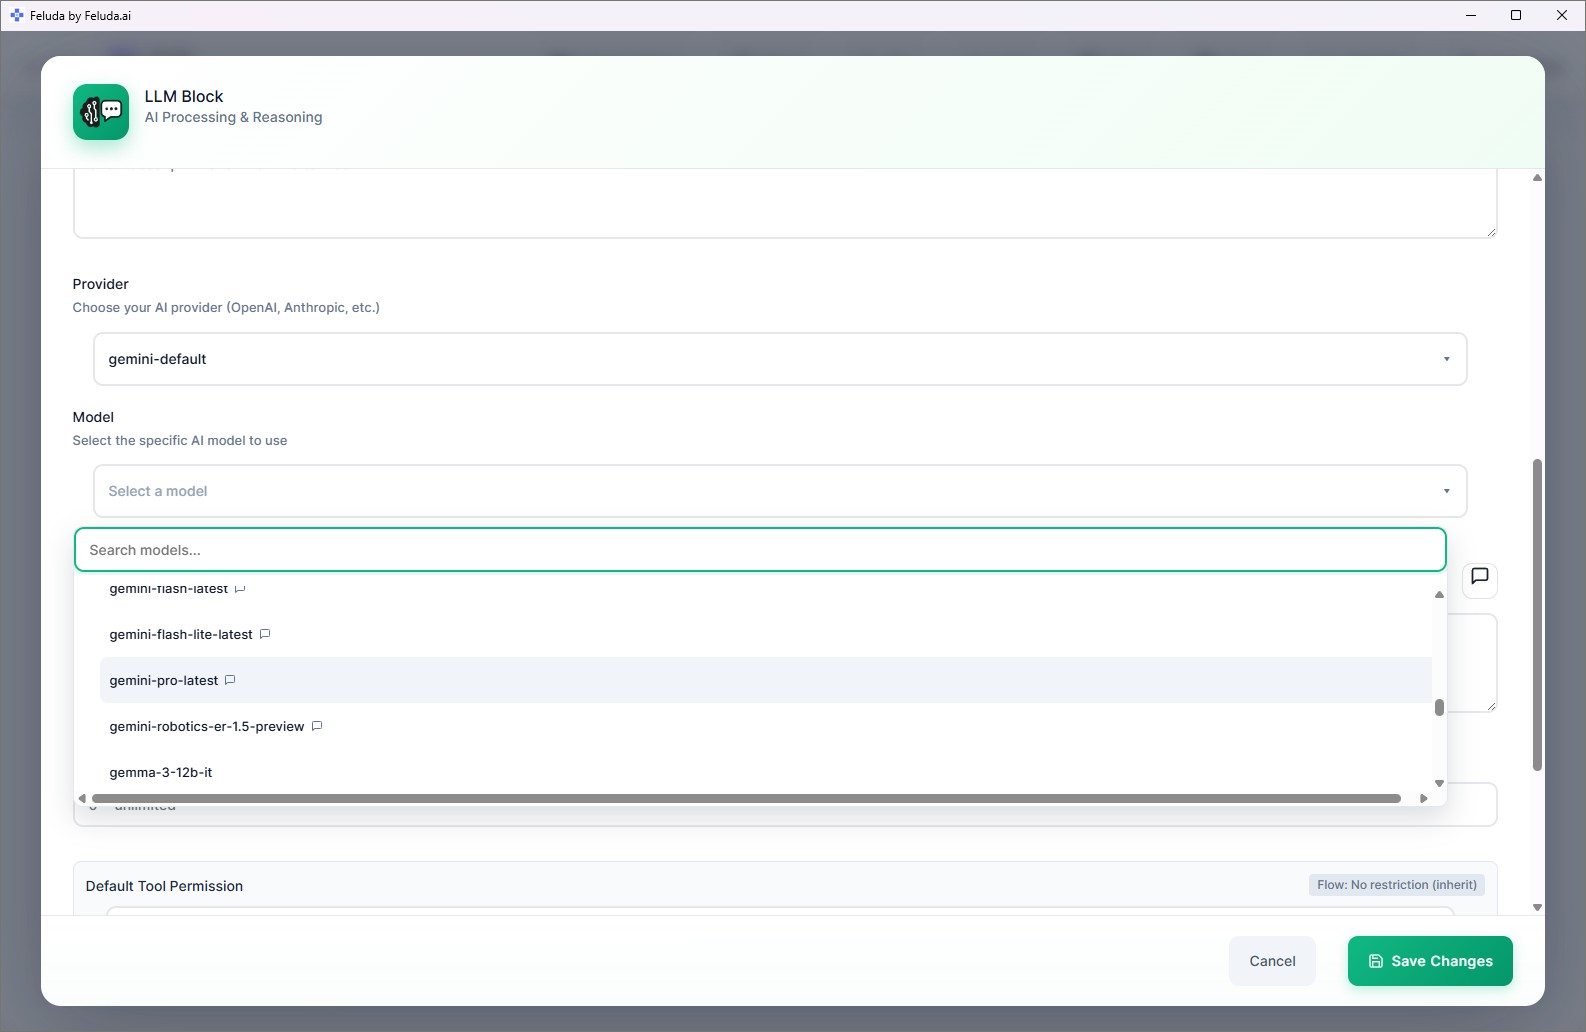
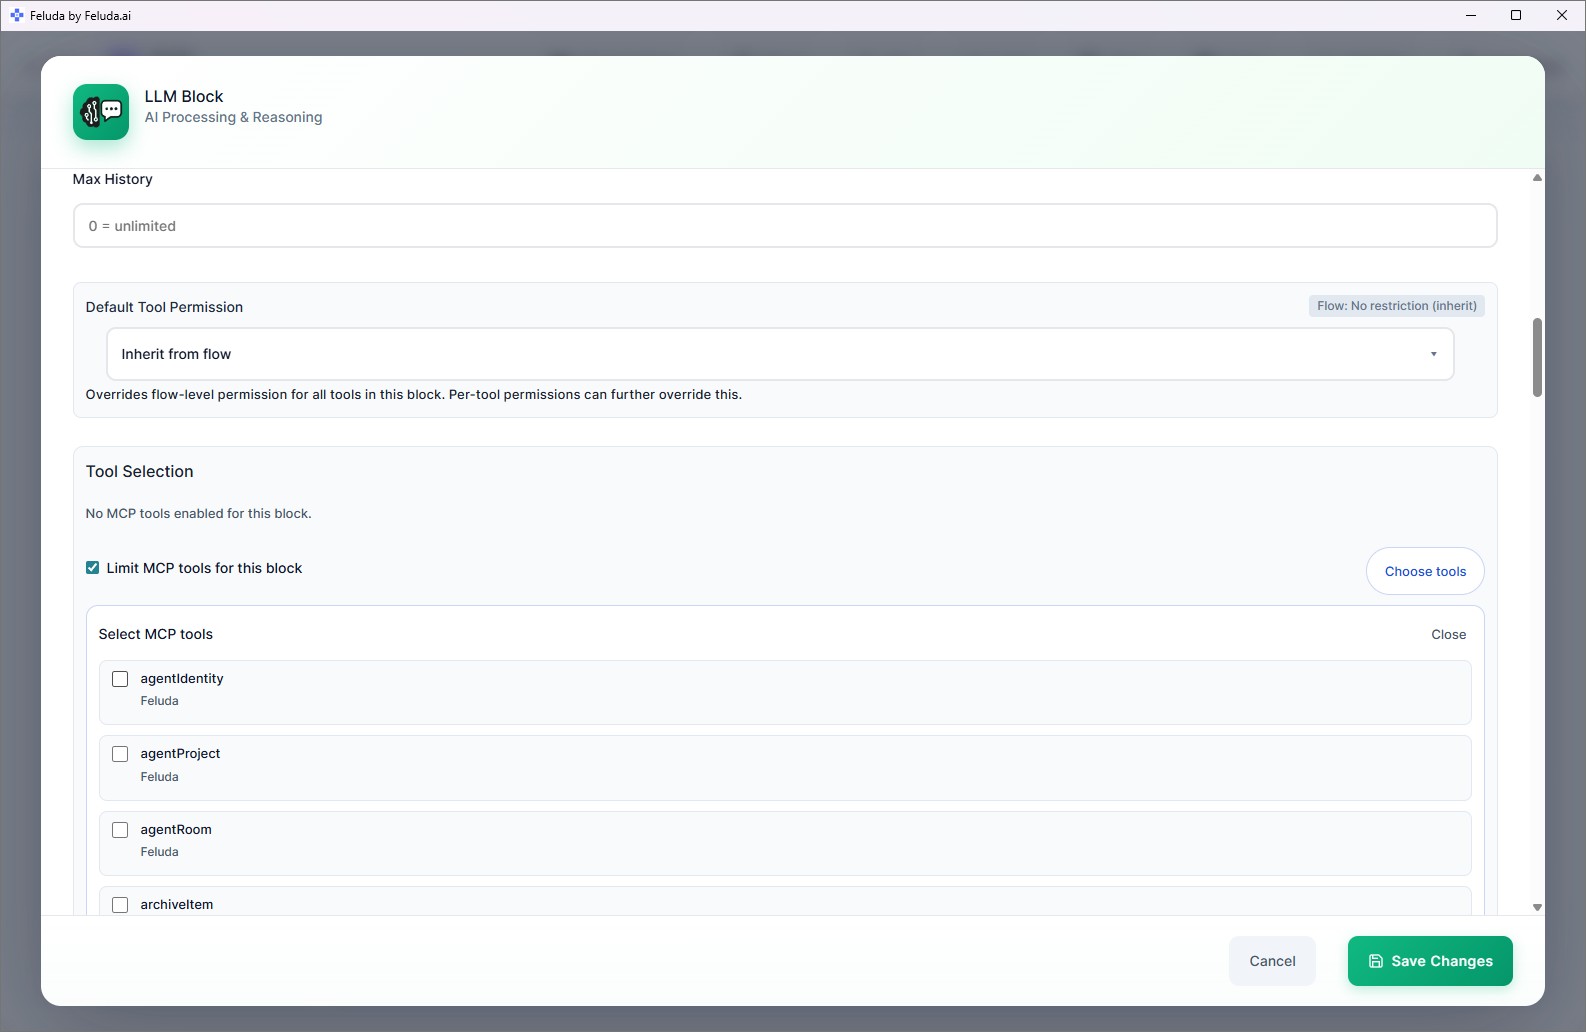
Configure the LLM block
Click on the LLM block. In the configuration panel, select your provider and model, then write a system message — for example: "You are a helpful assistant. Summarize the user's input clearly."
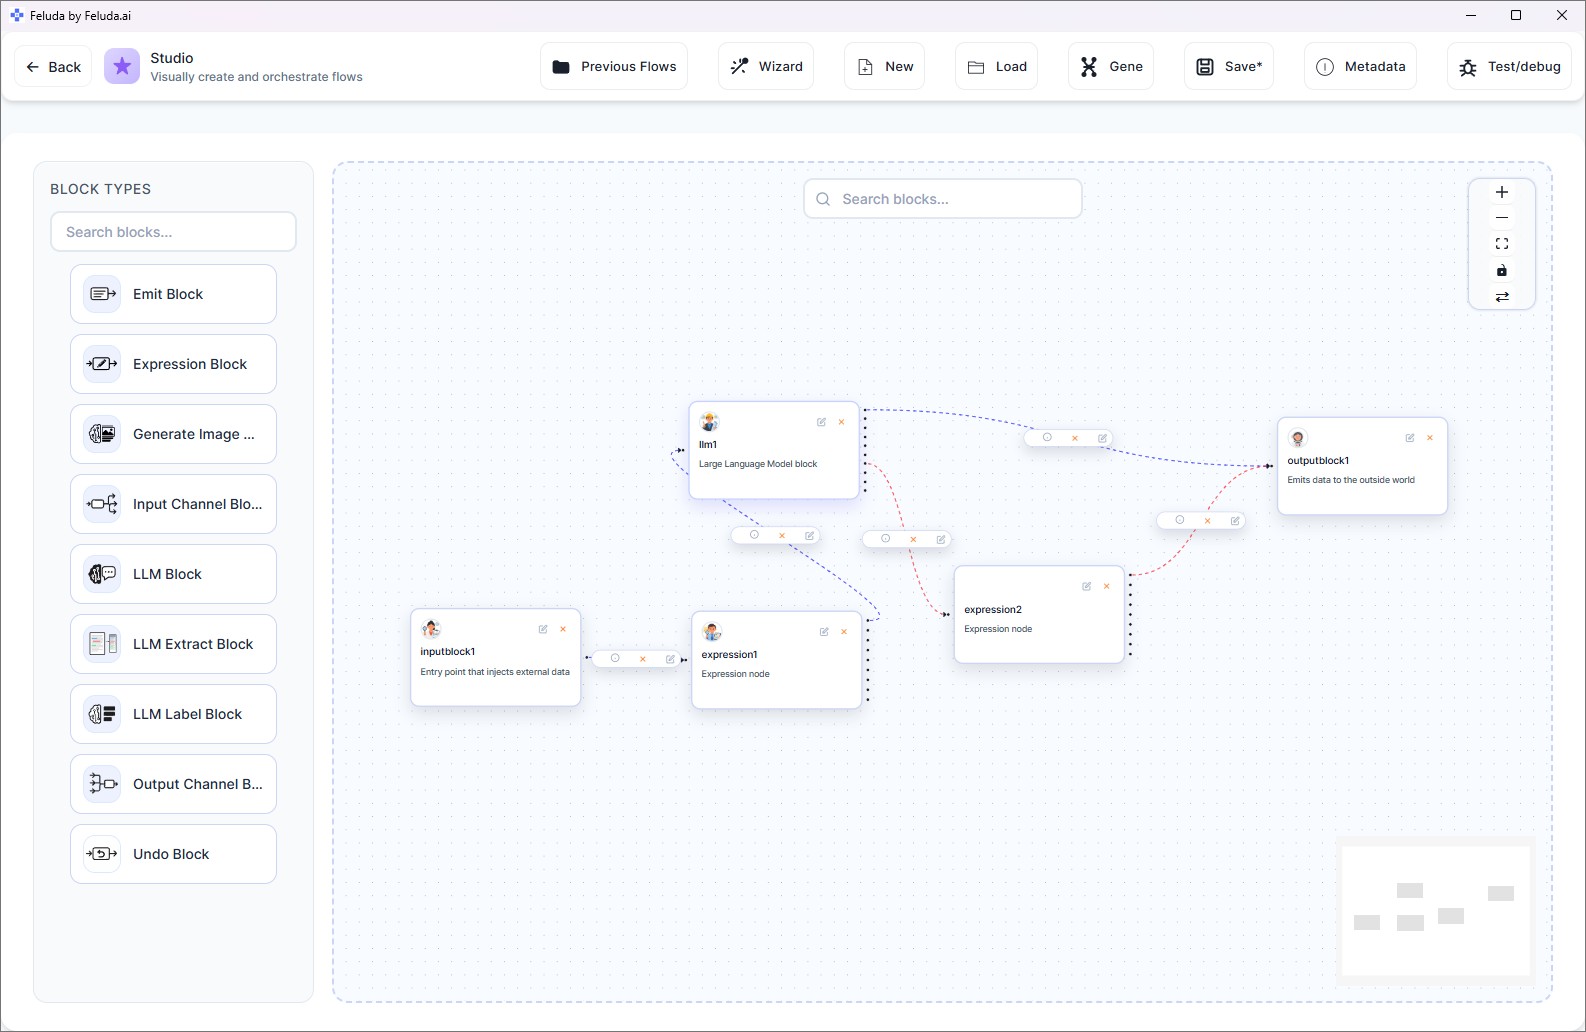
Add an Output block
Click Output. Connect the LLM block to the Output block. You now have a complete chain: Input → LLM → Output.
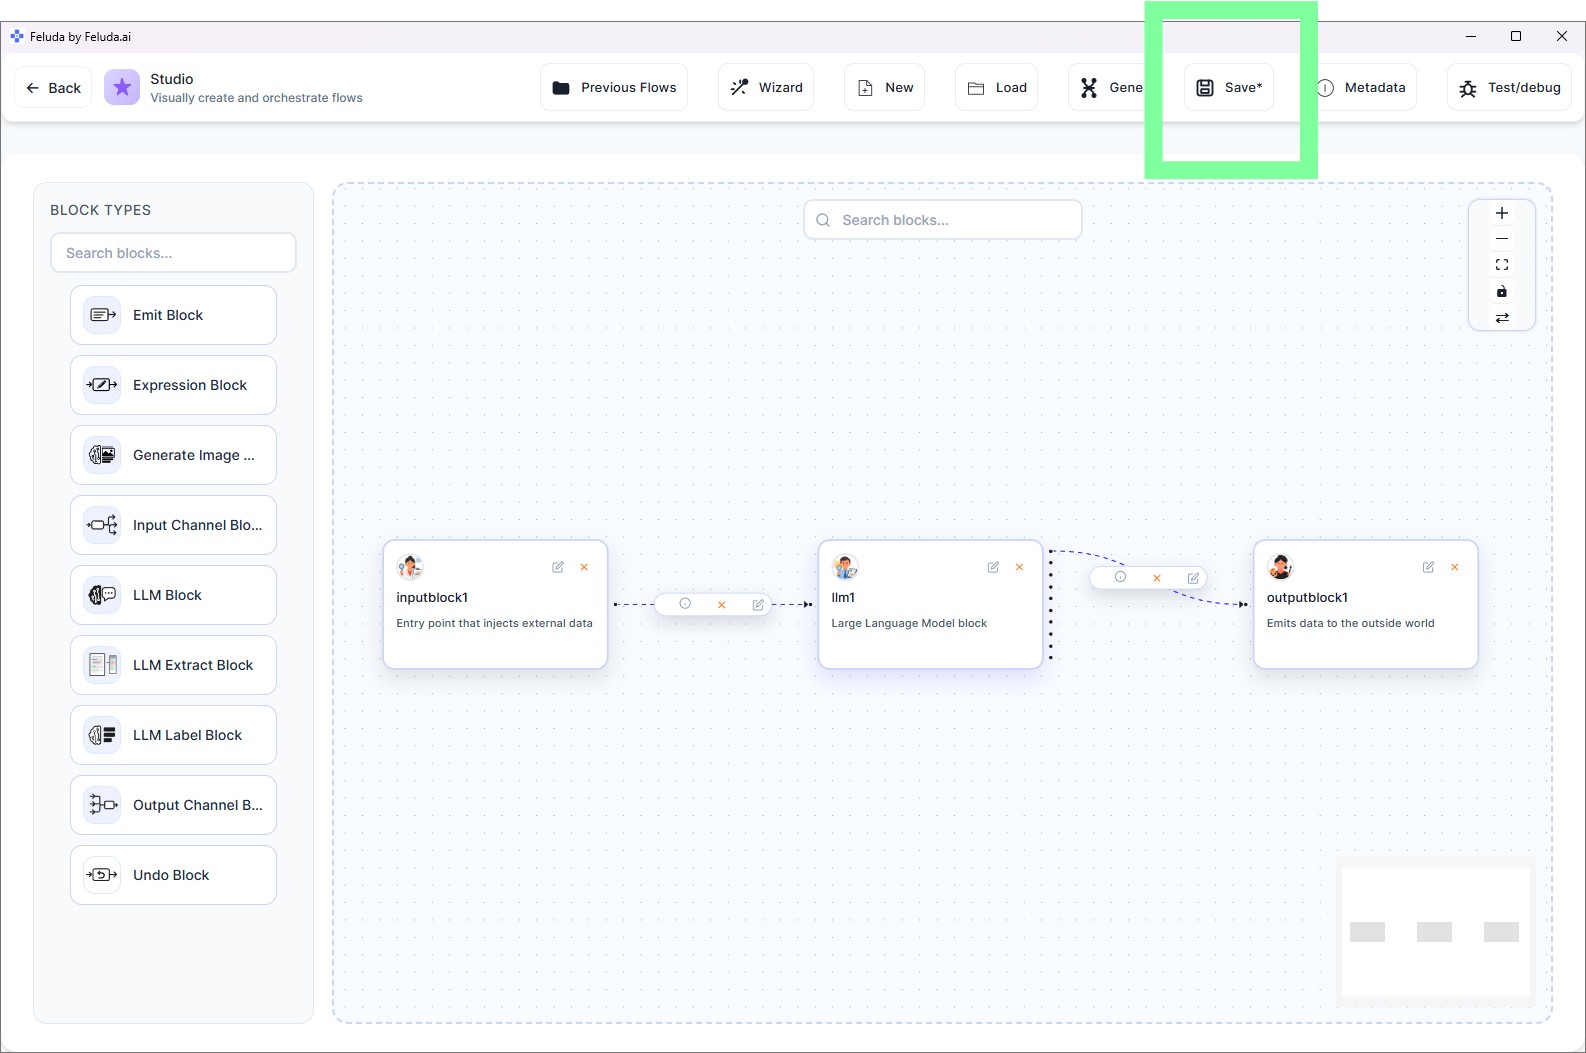
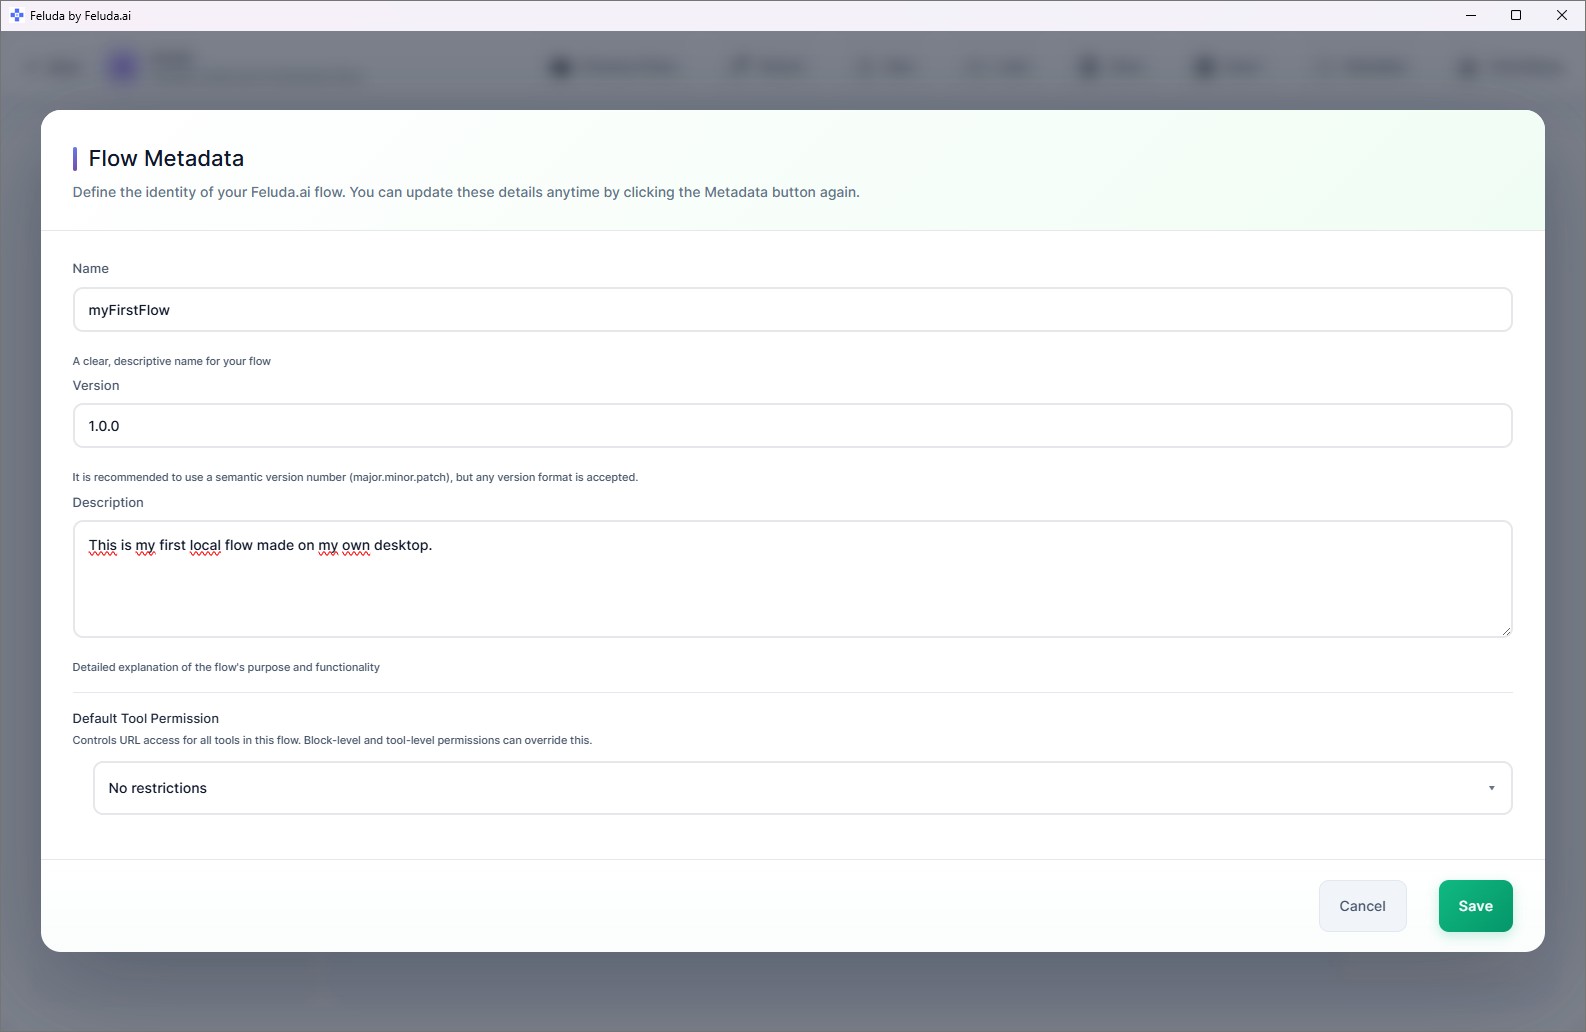
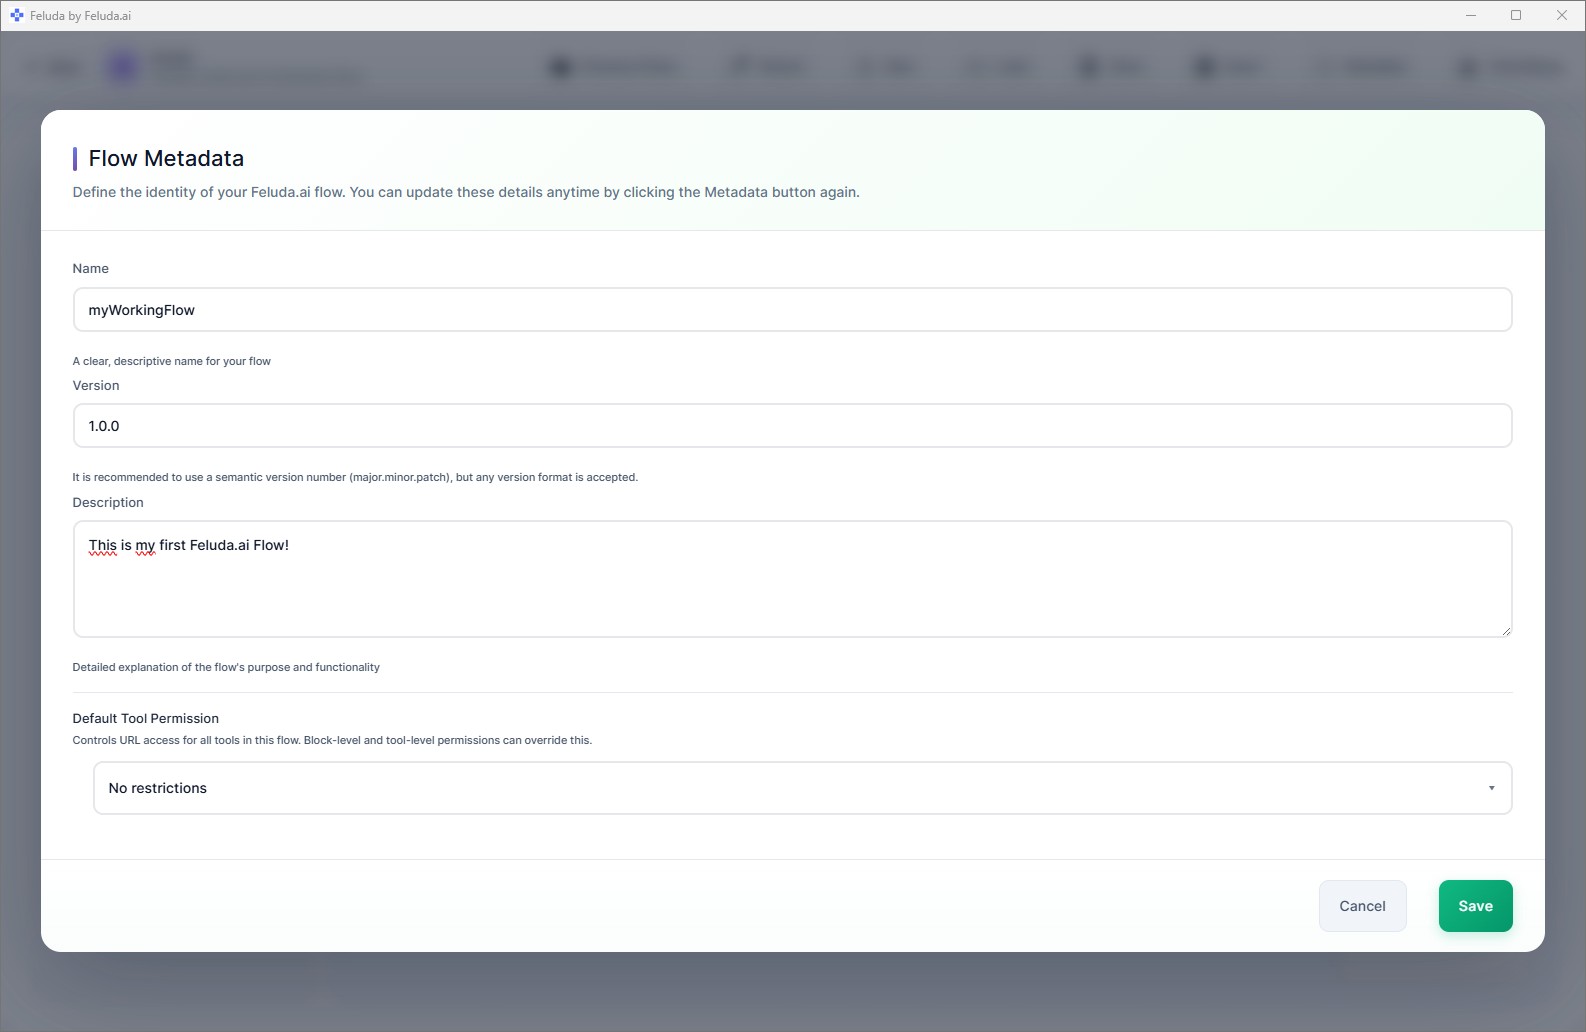
Save your flow
Click Save in the header. Name your flow (e.g. "My First Flow"). It saves to your local disk and appears in RunFlows.
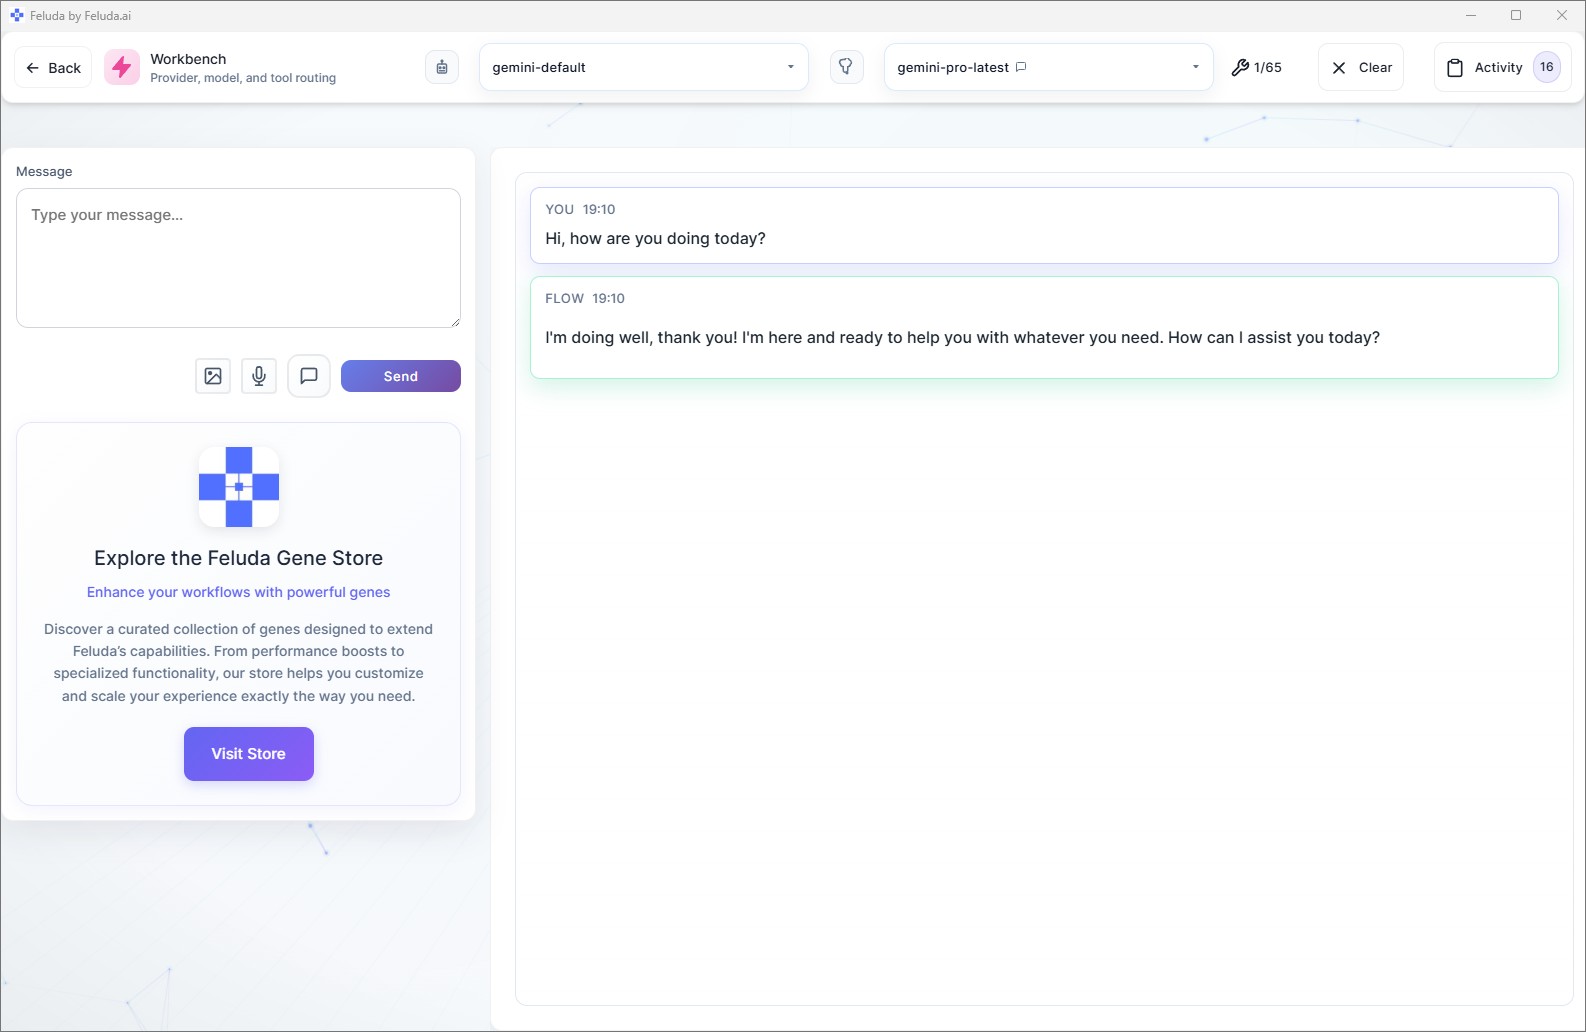
Save and Test Your Flow
Always save early so your flow appears in the local list. Then test it directly from the canvas or from the Workbench.

Right-click the canvas to open a context menu for adding blocks wherever your cursor is. Use Ctrl+Z (Cmd+Z on Mac) to undo. The flow auto-validates — if something is not connected properly, you will see visual indicators.
All Available Block Types
You used Input, LLM, and Output for your first flow. As you build more complex workflows, you can use these additional blocks:
LLM Label
Uses AI to classify data into categories and route the flow differently based on the result. Great for sorting emails or building decision trees.
LLM Extract
Pulls structured data out of unstructured text — names, dates, prices, or any specific fields you define.
Expression
Runs logic, transforms data, and calls tools without using AI. Useful for data cleaning, filtering, and conditional branching.
Generate Image
Creates images using AI image-generation models like DALL-E.
Emit
Outputs intermediate results at any point in the flow — useful for debugging or creating progress updates.
Undo
Removes the last message from the conversation context, giving the AI a fresh perspective on the next step.
Frequently Asked Questions
What blocks are available in Feluda Studio?
Input, Output, LLM (reasoning), LLM Label (classification), LLM Extract (structured extraction), Expression (logic), Generate Image, Emit (intermediate output), and Undo. Each block serves a specific role in the pipeline.
Do I need coding experience to build AI workflows?
No. Feluda Studio is a visual drag-and-drop canvas. You place blocks, draw connections, and configure each step through forms — no programming language required.
Can I use local AI models in my workflows?
Yes. Every LLM block has a provider and model selector. You can choose Ollama, LM Studio, or any local provider alongside cloud providers — even mix them in the same flow.
How do I save and reuse a flow?
Click Save in the Studio header, give your flow a name, and it saves to your local disk. Saved flows appear in RunFlows for execution and in Studio's "Load previous" option for editing.
Time to Run Your Flow
You have built and saved a working AI workflow. Continue to the next step to execute it and see real output.